

 |
 |
|
|
 08-20-2010, 05:00 AM
|
#91 |
|
C'est la vie

Drives: 2009 2 door hatchback Join Date: Aug 2009
Location: chicago
Posts: 482
|
I was also not able to install the turbo and manafold in the car as an assembly. A/C lines were in the way as well. I lowered the turbo behind the engine and let it sit on the K-frame. Then I bolted up my manafold and reached around the manafold and lifted the turbo to it. Then slide the tubo onto the studs and bolt it down. It was the only way to get it all in there without removing the A/C lines. It looks like your turbo will attach to mani with bolts. This might make it easier.
|

|

|
|
08-20-2010, 10:37 AM
|
#92 |
 ULTIMATE ULTIMATE
Drives: 07 Yaris Turbo Join Date: May 2007
Location: Canoga Park, CA
Posts: 14,857
 |
Are you guys working from above? When we did my first kit, we removed the subframe and worked from below.
__________________
Micro Image forums, online store and shop are now closed. It was a great eight year run, but it was time to focus on other things. I'm still selling parts on eBay under micro*image seller ID and customers can still make requests for anything specific. |
|
|
|
|
08-20-2010, 10:46 AM
|
#93 | |

Drives: 08 Yaris Turbo; 06 tC Turbo Join Date: Jan 2010
Location: New Jersey
Posts: 875
|
Quote:
|
|
|
|
|
|
08-20-2010, 12:03 PM
|
#94 |
|
vroom vroom

Drives: lil red 5-door Join Date: Sep 2006
Location: Bangkok, Thailand
Posts: 7,744
   |
I was thinking of watching some porn tonight but now I don't need to :D great job so far, gonna follow this thread closely!!
__________________
The price of freedom of religion, or of speech, or of the press, is that we must put up with a good deal of rubbish. - Robert Jackson  Bye bye 1NZ... |
|
|
|
|
08-20-2010, 12:15 PM
|
#95 | |
|
ULTIMATE
Drives: 07 Yaris Turbo Join Date: May 2007
Location: Canoga Park, CA
Posts: 14,857
|
Quote:
__________________
Micro Image forums, online store and shop are now closed. It was a great eight year run, but it was time to focus on other things. I'm still selling parts on eBay under micro*image seller ID and customers can still make requests for anything specific. |
|
|
|
|
|
08-20-2010, 11:25 PM
|
#96 | |
|
Drives: 08 Yaris Turbo; 06 tC Turbo Join Date: Jan 2010
Location: New Jersey
Posts: 875
|
Quote:
And now, here's day two of the install. Lot's of annoying things to slow me down (including work  ). Just wanna point out that I had to change cameras, and this one isn't as good. I'll try to get the other back for Sunday. Anyhoo... ). Just wanna point out that I had to change cameras, and this one isn't as good. I'll try to get the other back for Sunday. Anyhoo...AC lines couldn't come out, so I moved them to the side a bit. Turns out there was an o-ring. Guess what? It blew. 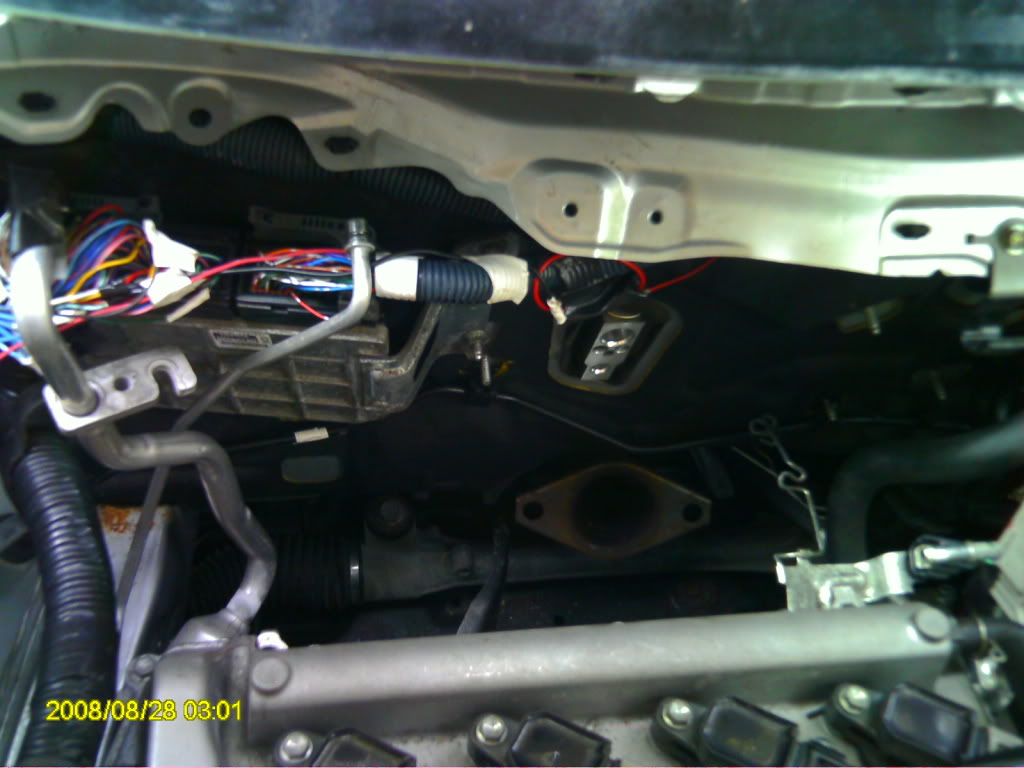 However, there were two issues that were such a pain in the ass to get off... 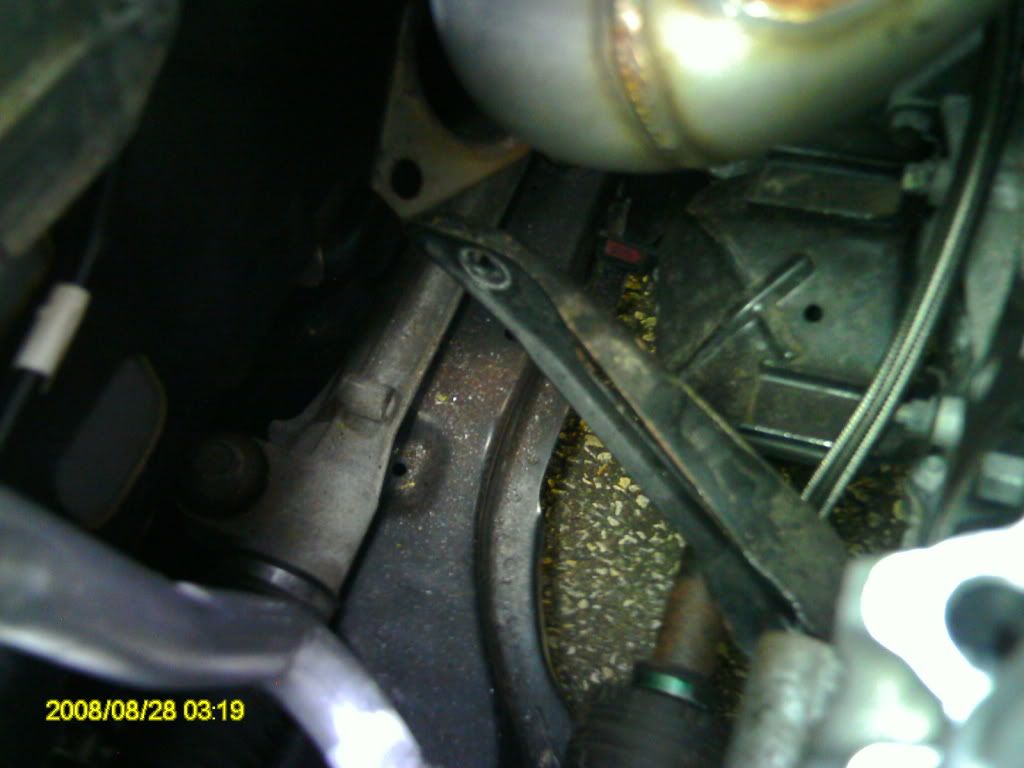 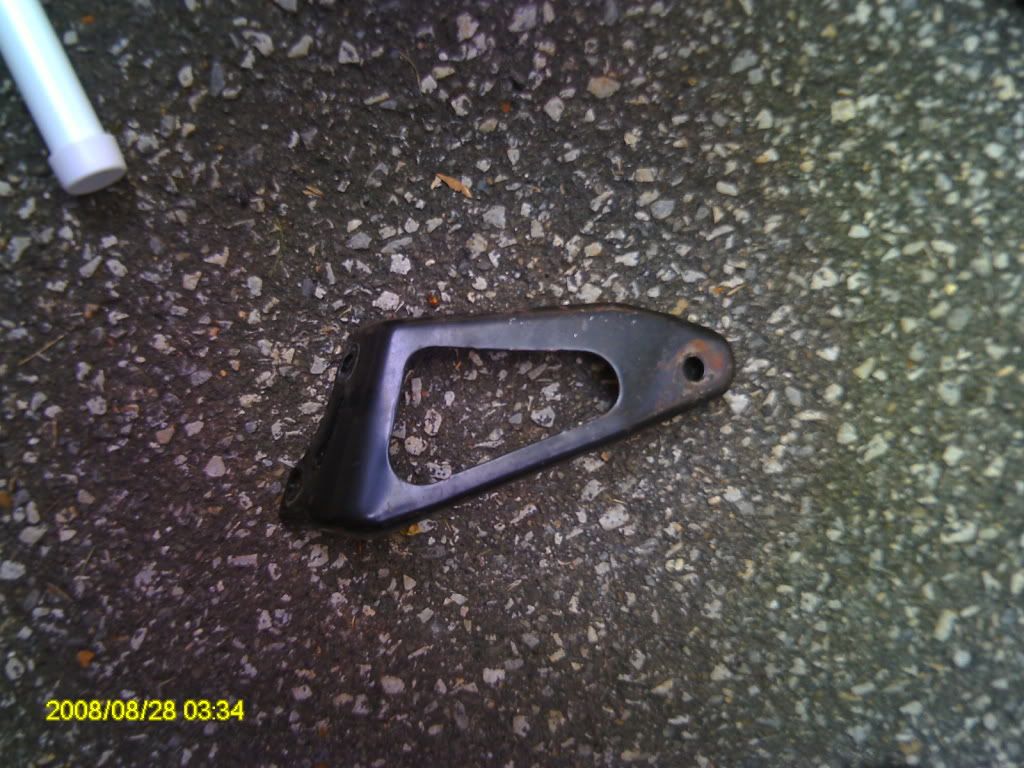 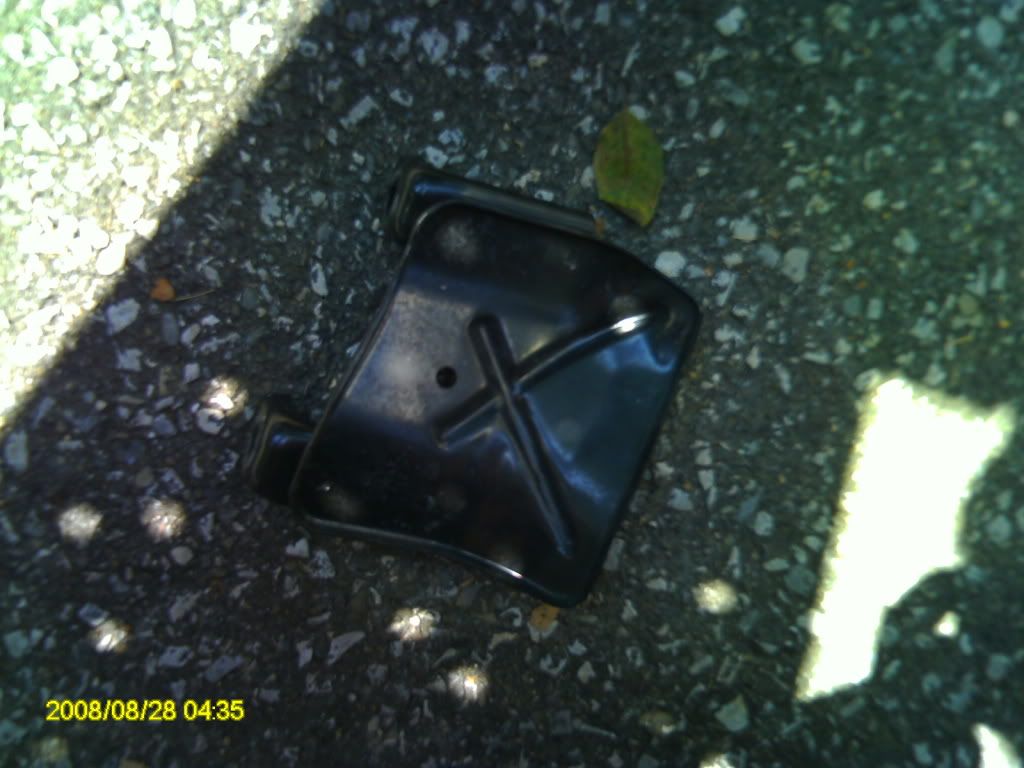 Both of these mounts were part of the OEM header assembly. However, they were totally in the way of the Zage downpipe. Here's the turbo/mani/downpipe with lines attached finally fitting in. 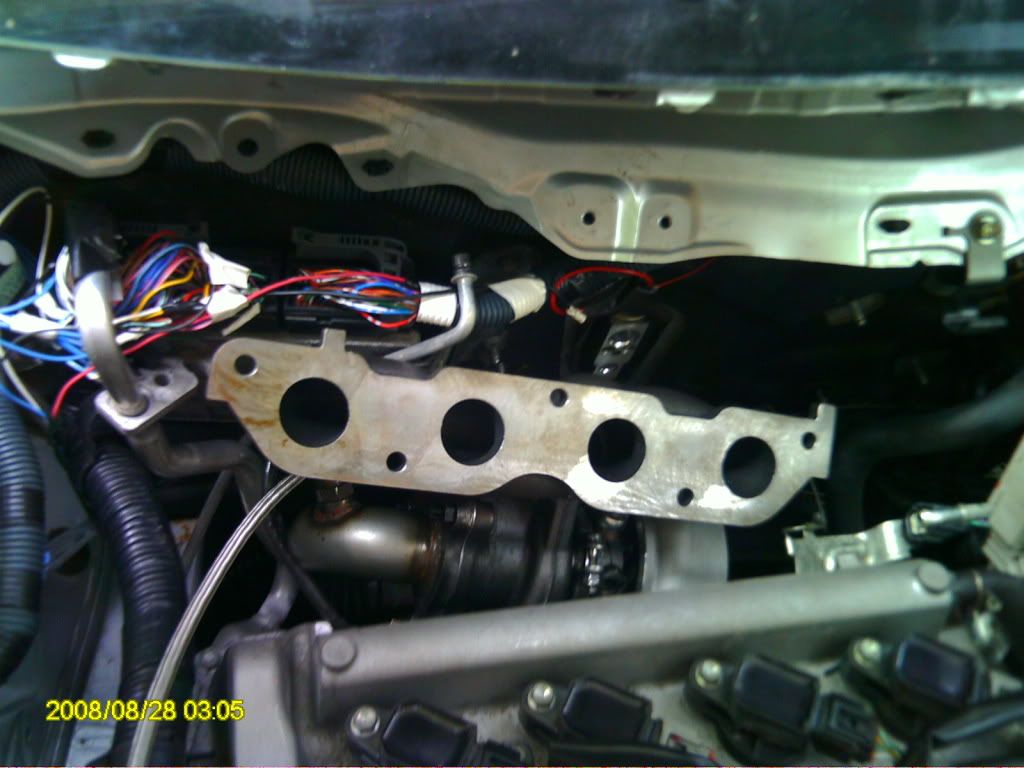 The money shots... 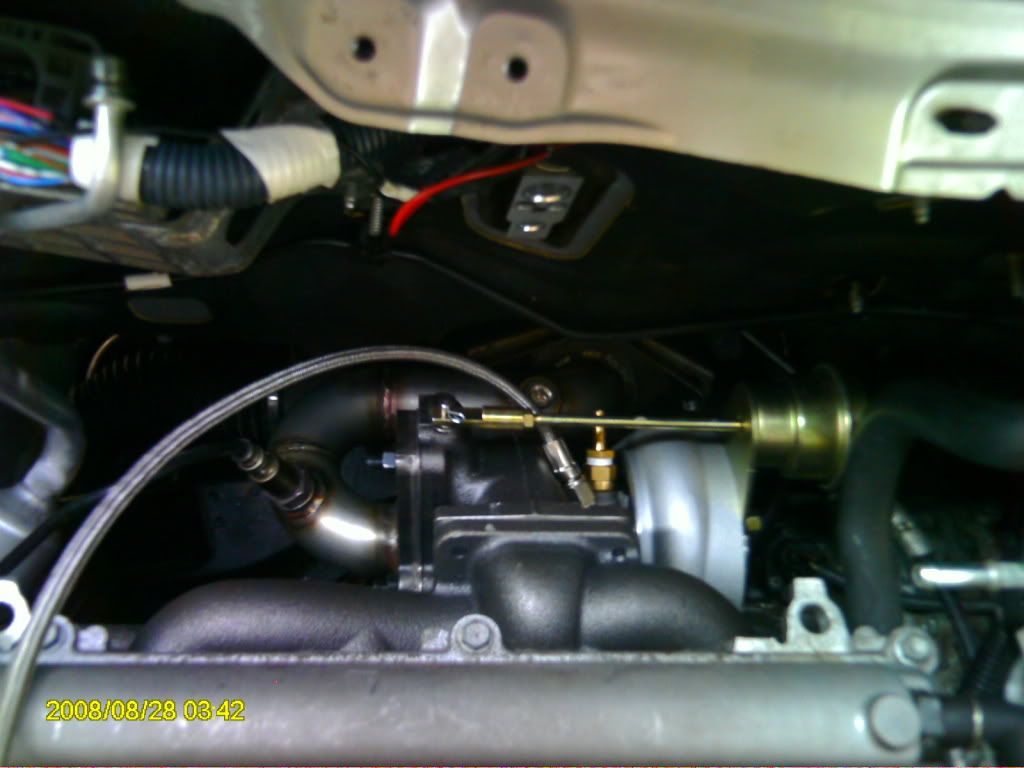 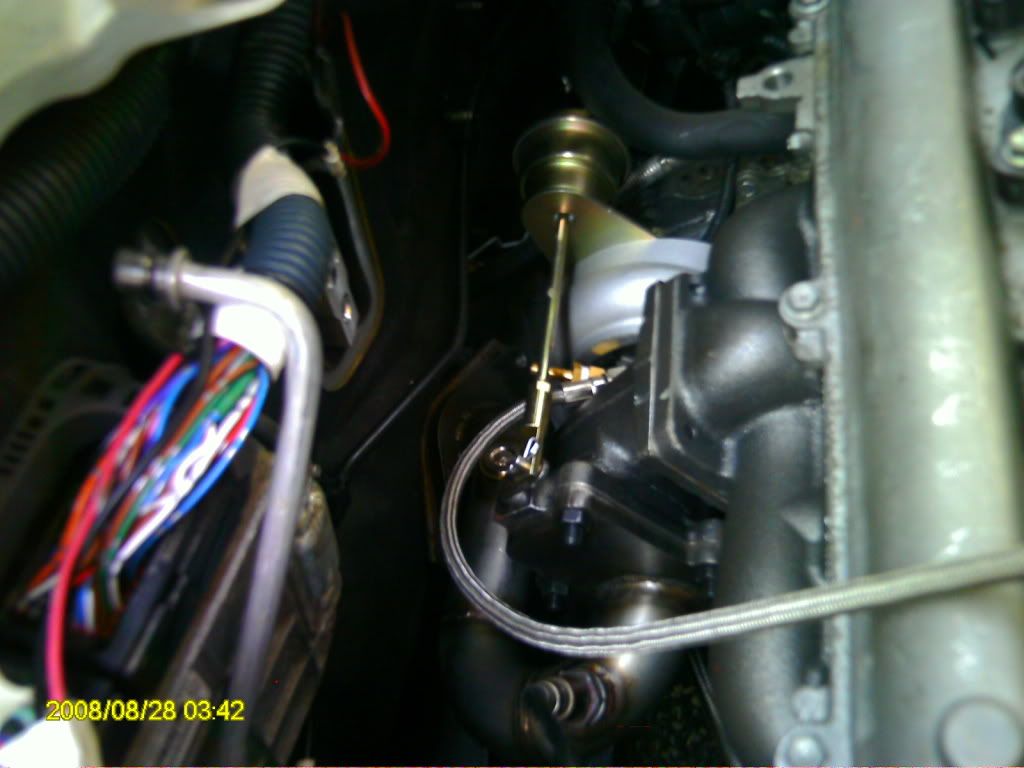 From the bottom 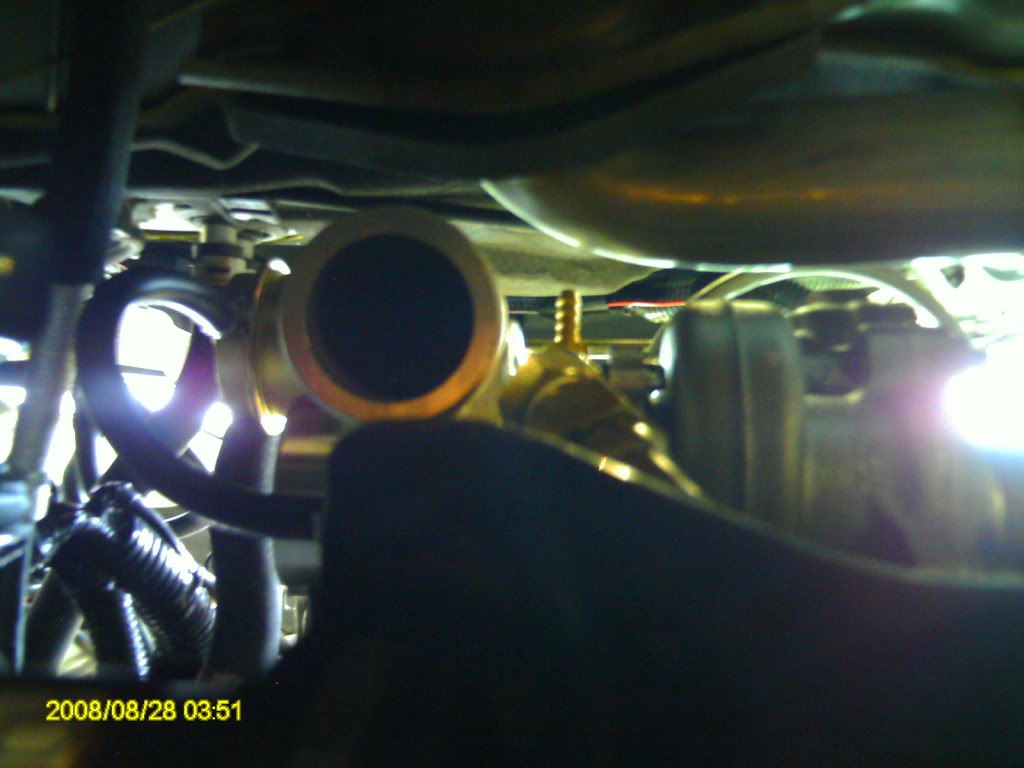 First intercool pipe added 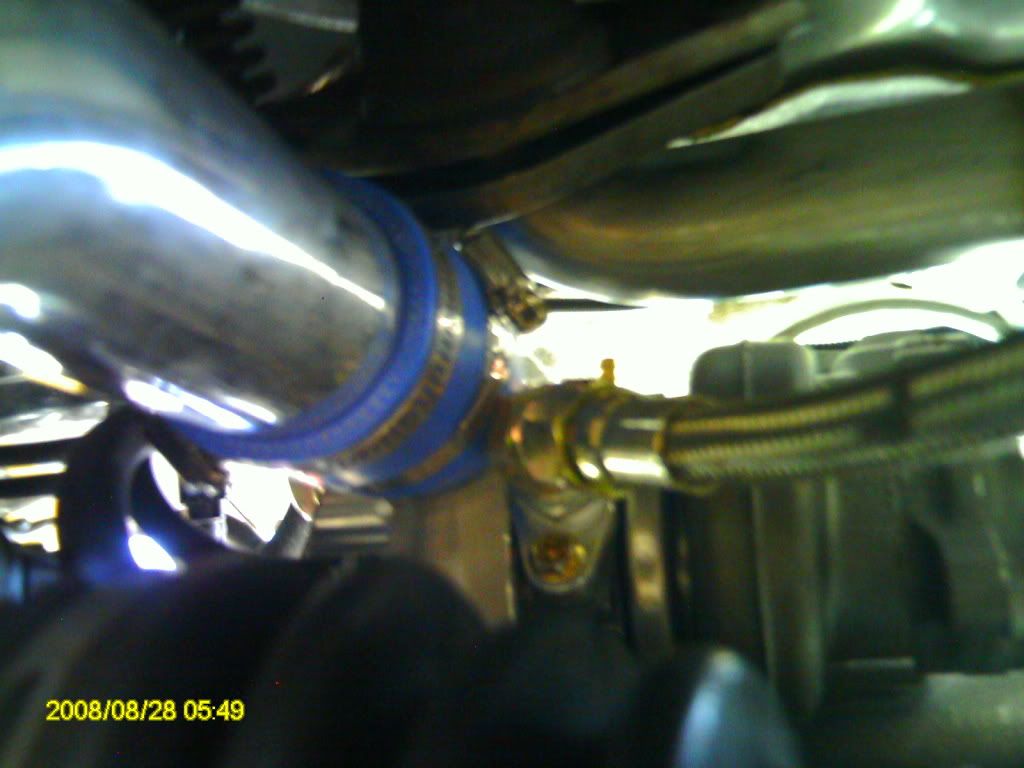 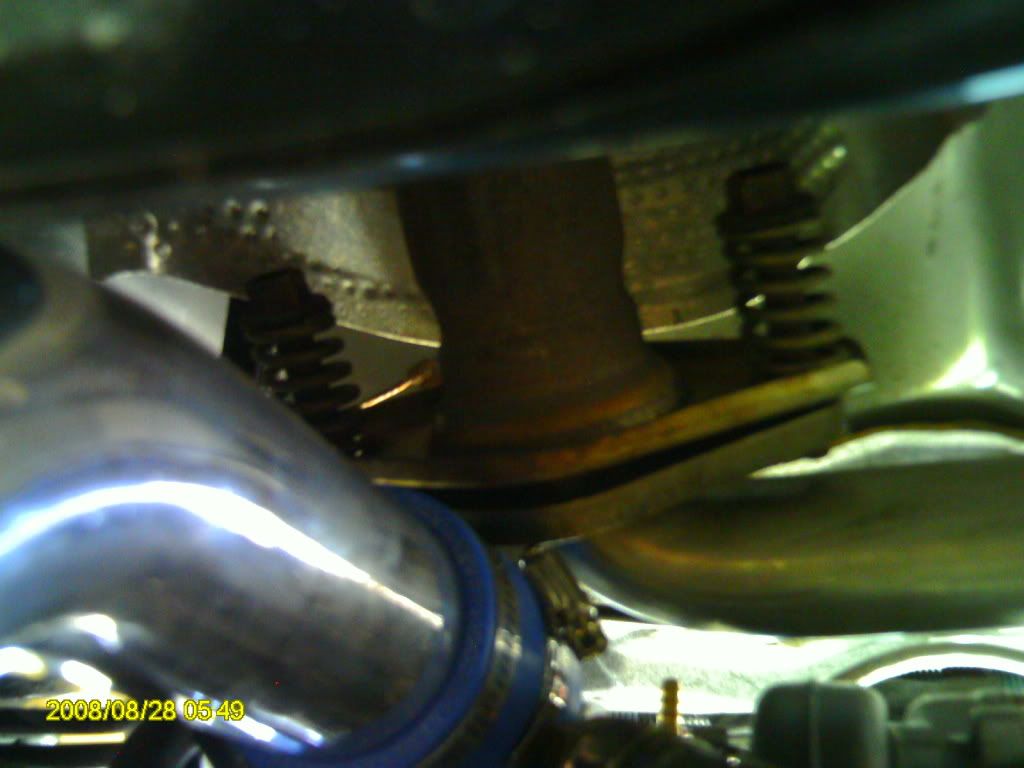 As you can see from the above, downpipe fitment is PERFECT. Well, except for this one problem. 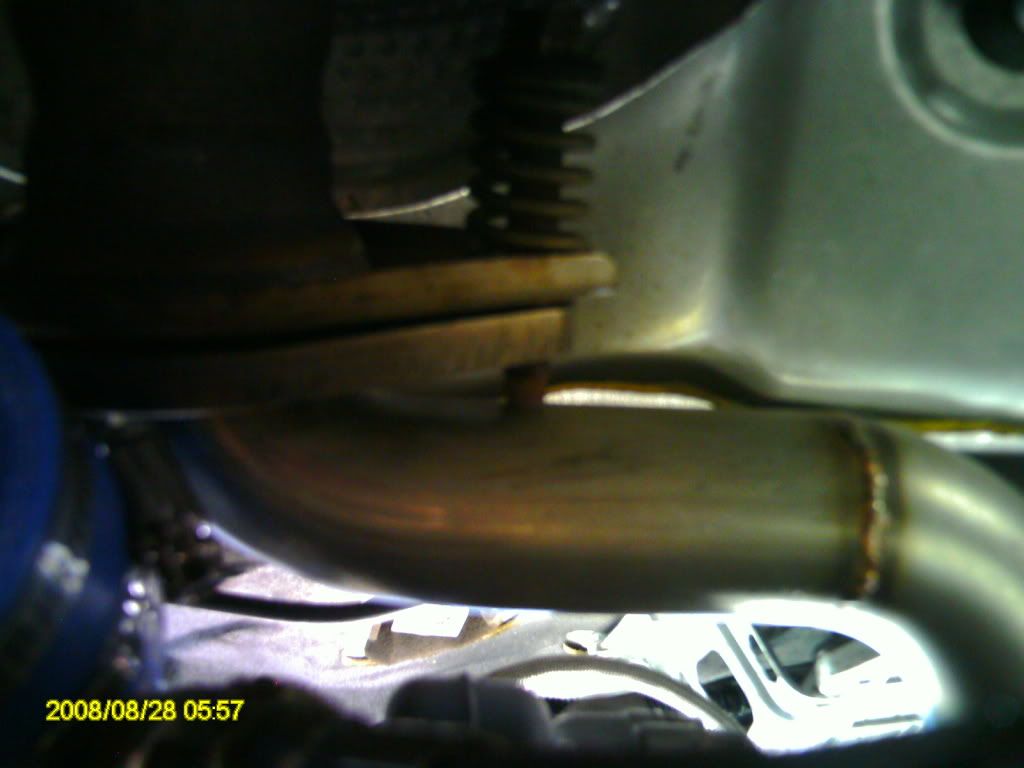 Turns out the OEM downpipe bolt on the right side begins to hit the downpipe. No problem, it was a quick fix with a hacksaw and power sander.  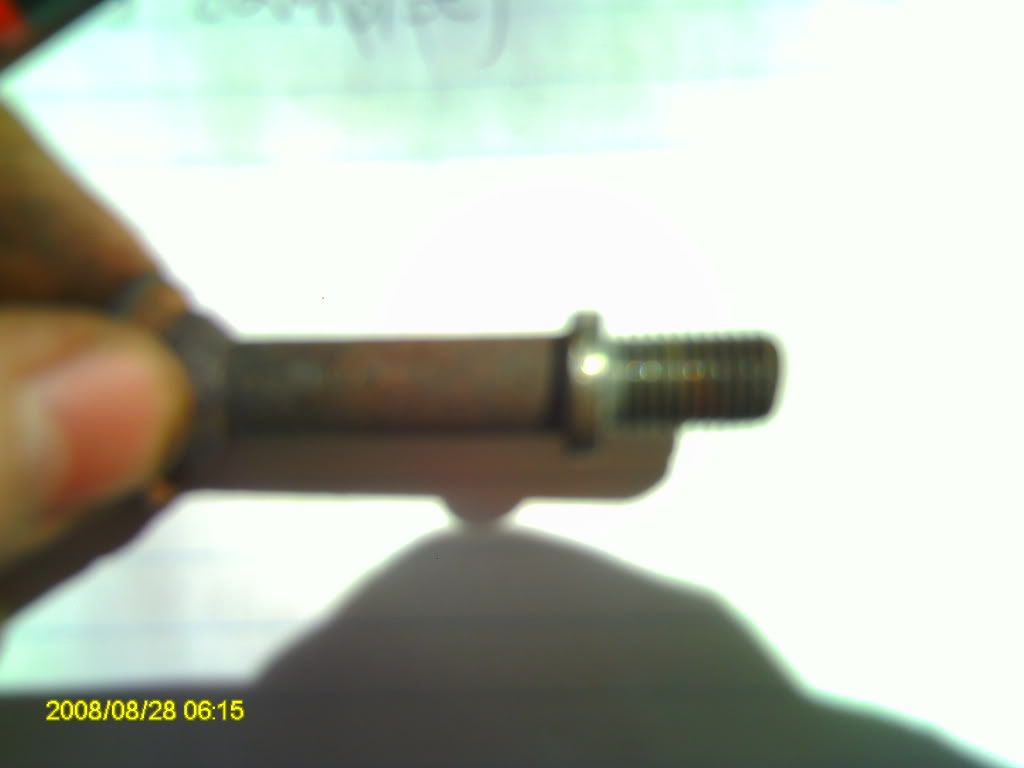 So here's the recap and where I'm at. Thus far, everything has fit perfectly. The only complaint I have is how impossible it is to get the bolts on the manifold tight. I can't get any type of wrench on them because the manifold blocks access from all directions. I can't even think of a tool that could be used, so I'm open to suggestions. The other potential issue I may have is the fitment problems of one of my coolant adapters on the turbo. This is not Zage's fault. For whatever reason, one of my compression nuts doesn't want to thread properly. I threaded it as much as possible and JB welded it. Nervous, but won't know until the car is running. I also am unsure as to whether or not the feed line is going to make it to my sandwich adapter, but that's no biggie I suppose. Otherwise, my only other concern with the Zage kit beside the mani bolt issue is the intercooler piping. I sat for awhile today trying to figure out how the hell there's enough piping to run from the turbo all the way around to the TB. In particular, it seems like there could very well be a piece of piping that is missing. I'll be looking into this more. Just remembered. I was a little concerned about the return line as well for two reasons. Now that everything is mounted up and I've seen the line run to where it would be IF I was using the Zage oil pan, I now understand it's problem. cdydjded was right - the return is a TERRIBLE design. The line would run horizontally to one side of of the oil pan to the back corner on the other side, whereby it would bolt in. That aside, even with my plan to tap the block above the pan I still am in a tough spot. The return line is too long and rigid to tap approximately where Garm tapped (pictures a few pages back). I'm gonna need another spot somewhere near there... I think I just need to spend some time looking at it. Otherwise, everything is going pretty well so far. I thought I would be progressing along a little quicker but not only am I pretty inexperienced, I really would like to get this right and working. EDIT: Just looked at their install pictures. I think I understand how they did the piping, but I believe they removed sections of plastic / metal (not sure what it is atm) next to the radiator (at the bottom) to work it around. Last edited by Focus_Sh1ft; 08-21-2010 at 12:04 AM. |
|
|
|
|
|
08-20-2010, 11:44 PM
|
#97 |
|
Drives: 08 BB LB Join Date: Dec 2008
Location: Maiden, NC
Posts: 785
|
Very nice progress. Lol Ive been checking here all day waiting for the update. How much did you have to cut off of the bolt for it to clear the down pipe?
Looking at the Zage website Id say your not missing any ic piping. Thats a bummer.
__________________
Too much of car culture is people taking things too seriously and not enjoying it for what it is. |
|
|
|
|
08-21-2010, 12:17 AM
|
#98 | |
|
Drives: 08 Yaris Turbo; 06 tC Turbo Join Date: Jan 2010
Location: New Jersey
Posts: 875
|
Quote:
 I only cut off about 1/4" of that bolt, but even that gave me more than enough room. The really annoying part was removing those two black frame pieces... It was nearly impossible to get a socket on them and give them enough torque to get em moving. |
|
|
|
|
|
08-21-2010, 12:20 AM
|
#99 | |
|
Drives: 08 BB LB Join Date: Dec 2008
Location: Maiden, NC
Posts: 785
|
Quote:
Boredom ftl 
__________________
Too much of car culture is people taking things too seriously and not enjoying it for what it is. |
|
|
|
|
|
08-21-2010, 12:25 AM
|
#100 |
|
Drives: 08 Yaris Turbo; 06 tC Turbo Join Date: Jan 2010
Location: New Jersey
Posts: 875
|
Waiting for school to start back up is never a good thing.
 I'm glad I'm keeping you entertained lol. Expect a solid 8 hours of work (and pictures) on this on Sunday. |
|
|
|
|
08-21-2010, 12:37 AM
|
#101 | |
|
Drives: 08 BB LB Join Date: Dec 2008
Location: Maiden, NC
Posts: 785
|
Quote:
And I do enjoy your thread. You, pimp_my_yaris and cdydjded are an inspiration.
__________________
Too much of car culture is people taking things too seriously and not enjoying it for what it is. |
|
|
|
|
|
08-21-2010, 01:17 AM
|
#102 |
|
Drives: 2008 Yaris LB Join Date: Jul 2010
Location: PA
Posts: 899
|
I feel your pain. When things are torqued down real tight I can never get them off. That's why I end up paying others to do my installs instead of doing it myself. lol
I'd rather do it but half the time shit never works out right for me.... |
|
|
|
|
08-21-2010, 10:17 AM
|
#103 |
|
Bathroom + Laptop = <3
Drives: Audi Join Date: Aug 2006
Location: Dorchester
Posts: 1,009
|
Usually a deep socket on a wobbly head extension is good to get your mani bolts. Or a flex head ratcheting wrench.
I said you may need to reclock it in order to get the piping to go where it needs to go, hopefully thats not the case because off comes the turbo and mani again :( that is SWEET that it bolts up to the stock exhaust, but the stock might have too small diameter of piping. Run open downpipes for now :P ? Its loud but dear god is it sexy. Try to look at alot of pics of other zage installs, i know there are a bunch from that indonesian guy that posts up here. |
|
|
|
|
08-21-2010, 09:41 PM
|
#104 | ||
|
Drives: 08 Yaris Turbo; 06 tC Turbo Join Date: Jan 2010
Location: New Jersey
Posts: 875
|
Quote:
 Quote:
 Zage install, Day three. I only had about two hours to work with today so little got done, but piping is FINISHED!  Lots of little fitment issues once again, starting with this one. 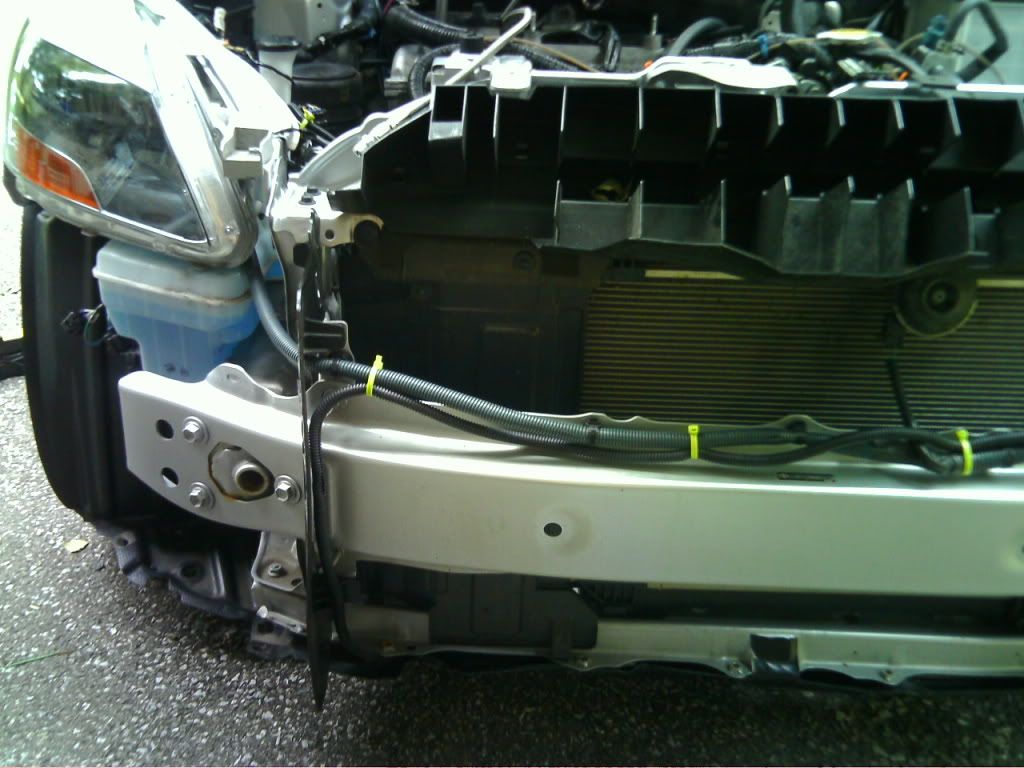 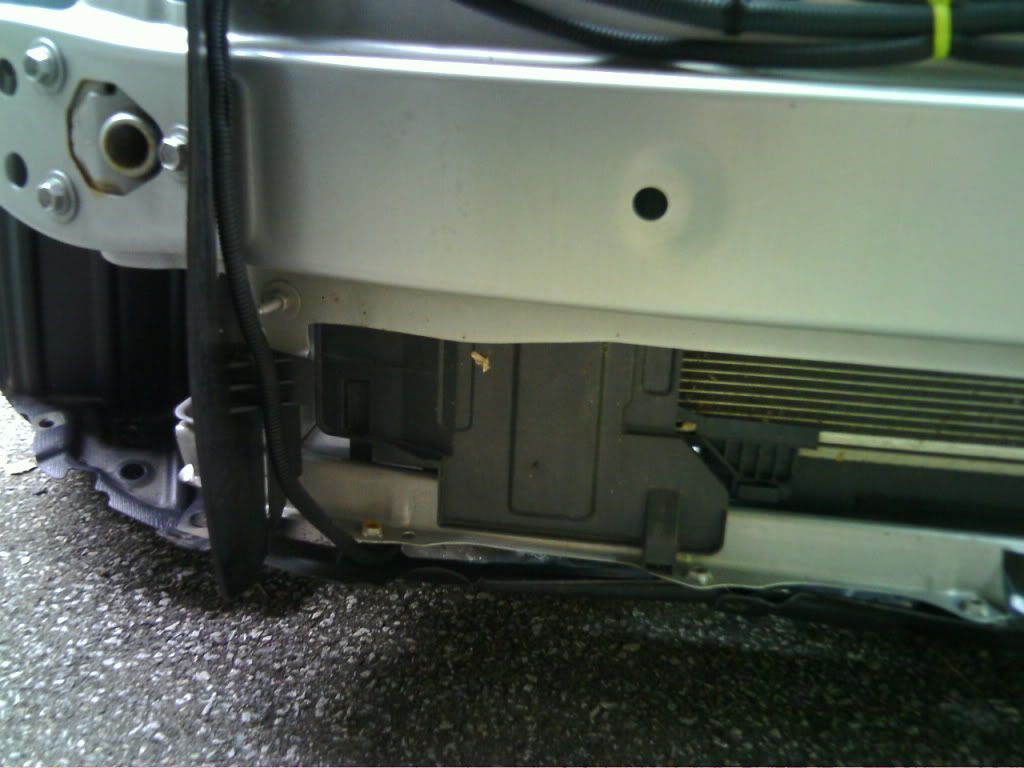 Had to really study the Zage install pictures to figure this one out. I realized they removed the black plastic to the left of the radiator. So I did the same (sort of) 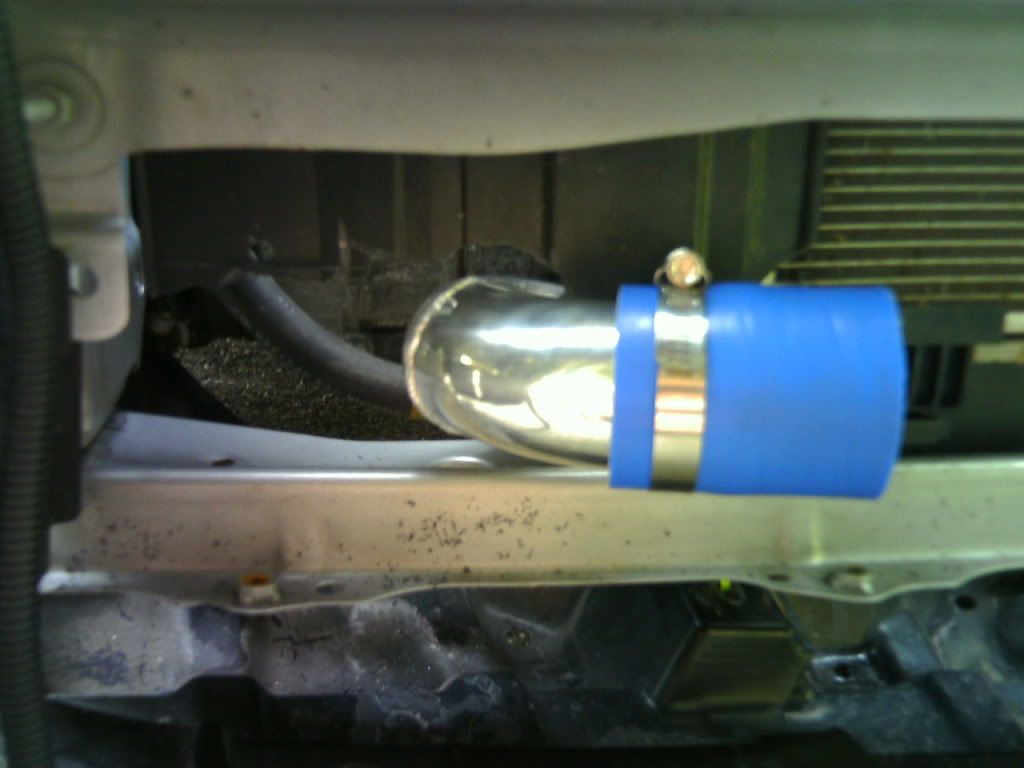 Drilled/hacksawed/handsawed/whatever to cut a bit of the plastic away. Here you can see where the piping off the turbo connects with the pipe in the above picture. 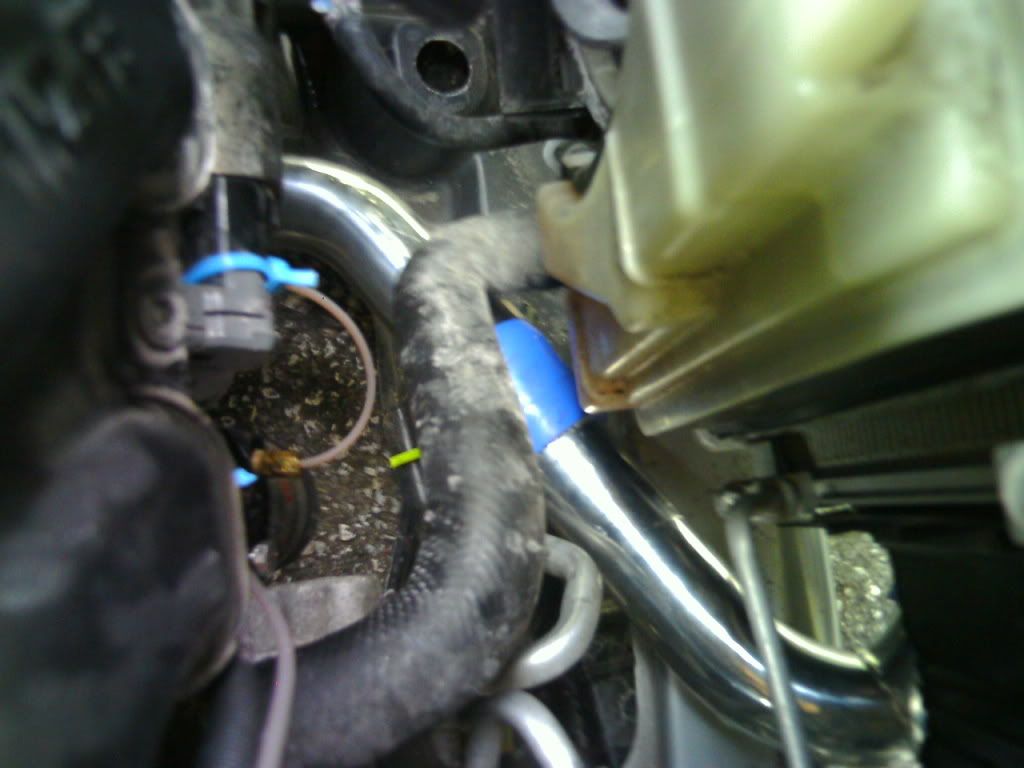 Decided to save the intercooler for last (and glad I did), and jumped to the TB now. Firstly, cheapo CAI coming out 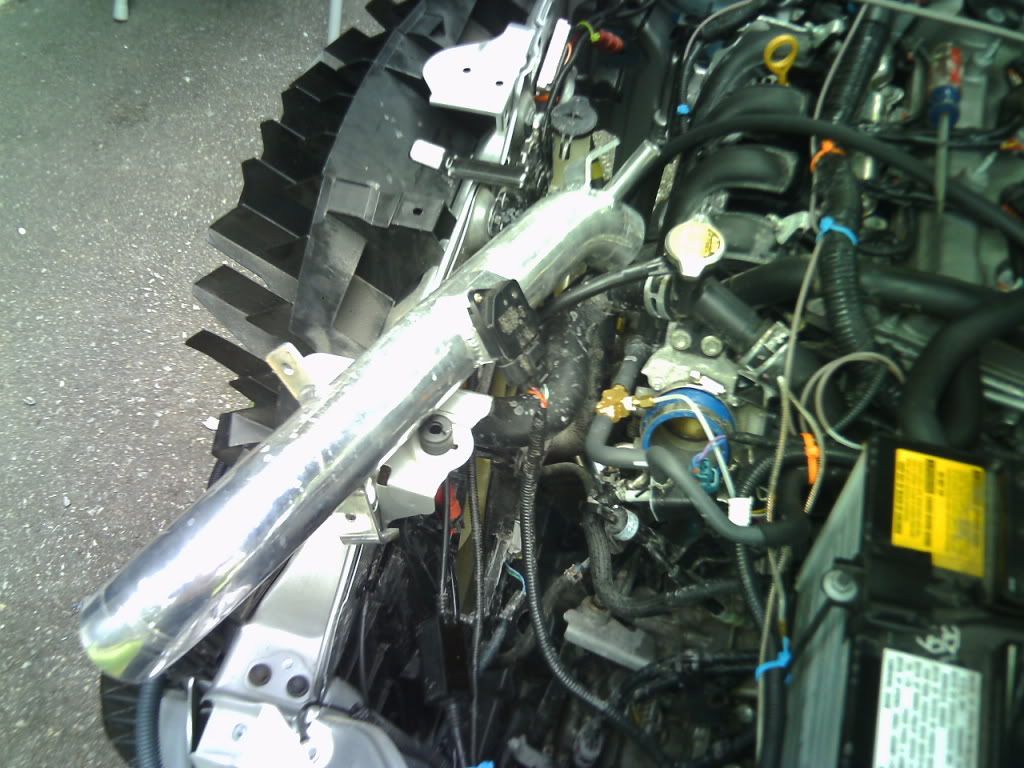 Preping the TB piping 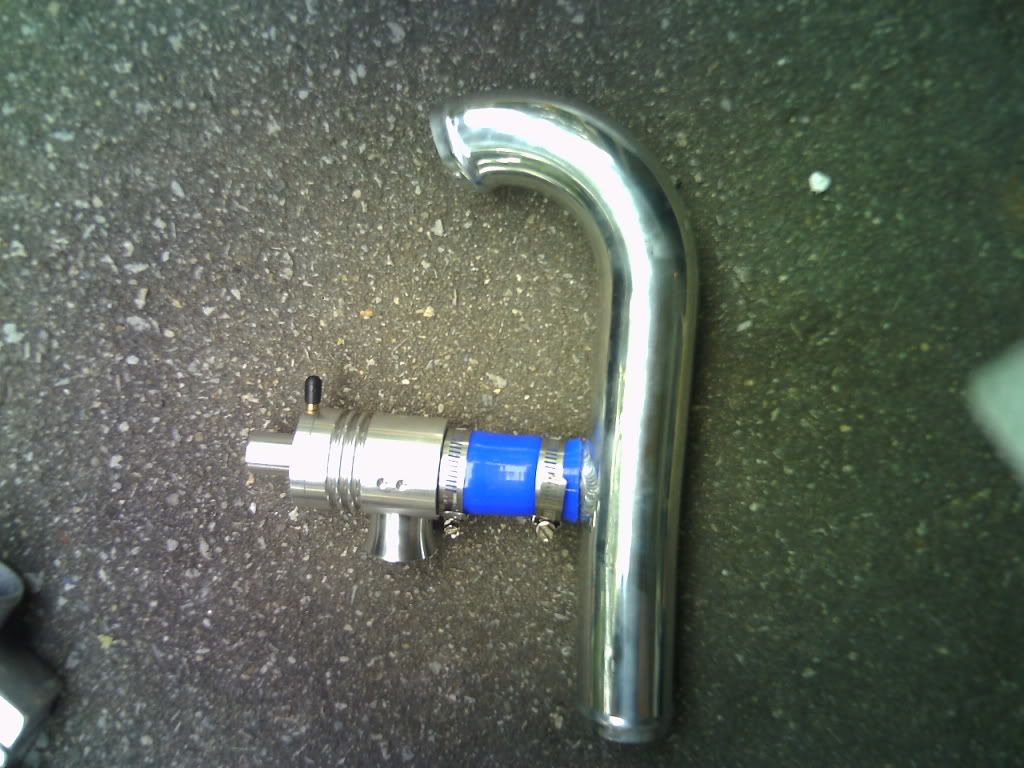 TB piping on 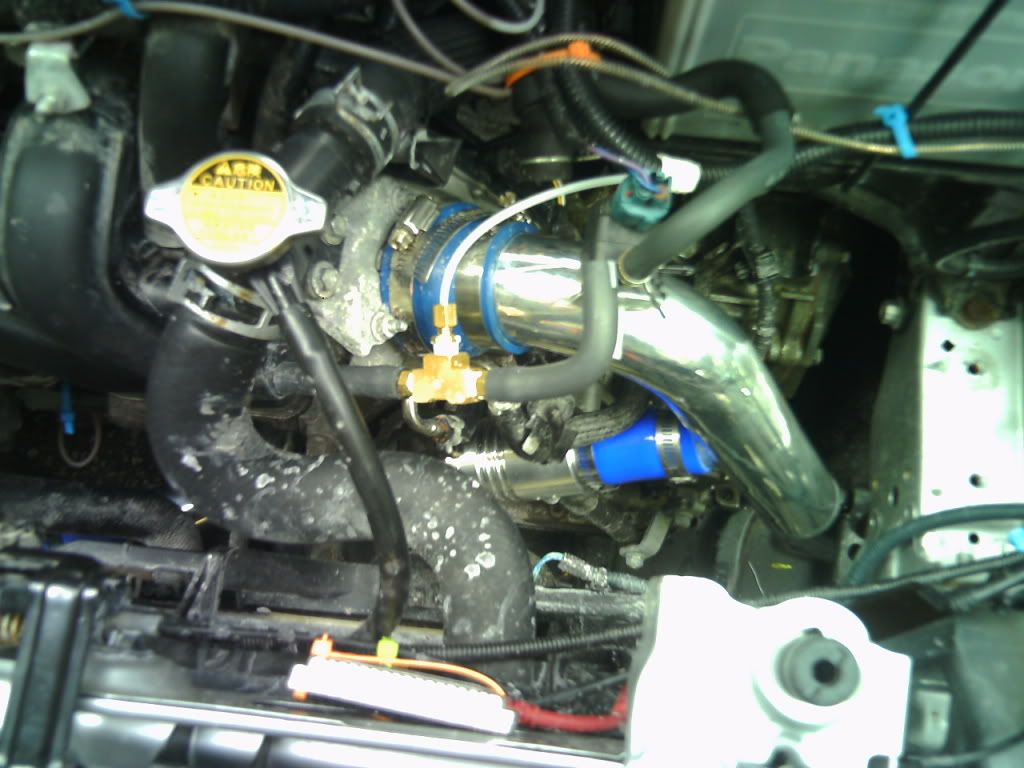 The pipe that goes from TB pipe to intercooler was wacky shaped, so I had to play with it a bit, basically I first thought it was going to go where this black tab is (not the bumper support). 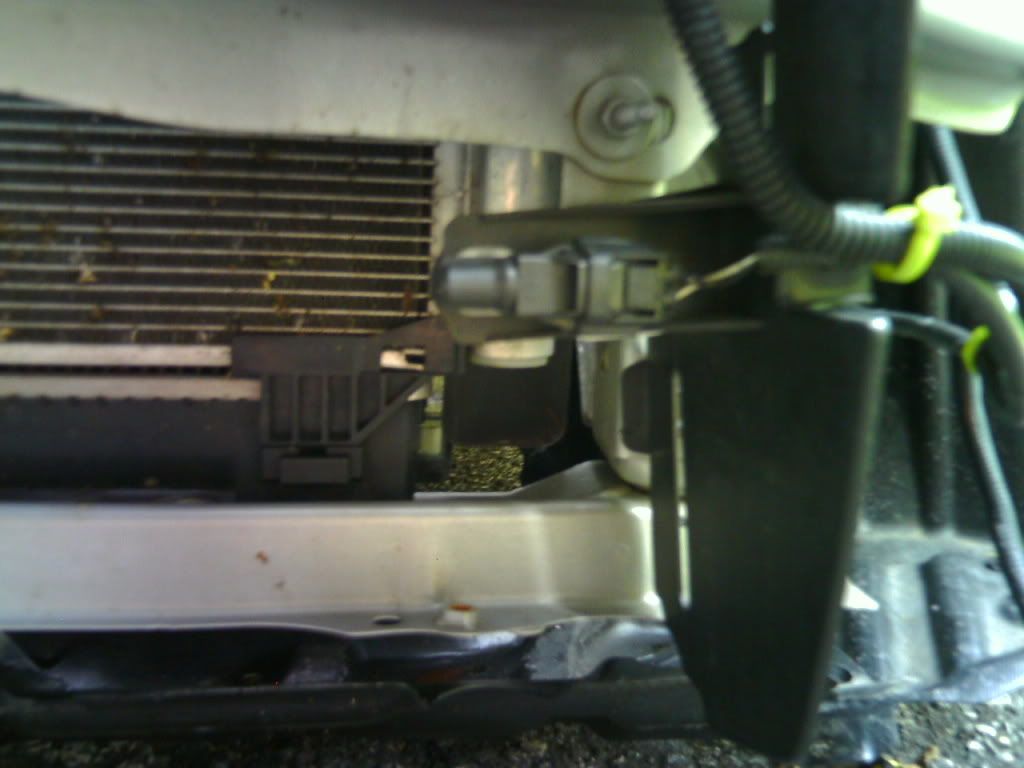 Turns out it goes through the lower part of the bumper support. I had to cut off part of the plastic. Here it is before mounting it up, in approximately the right spot. 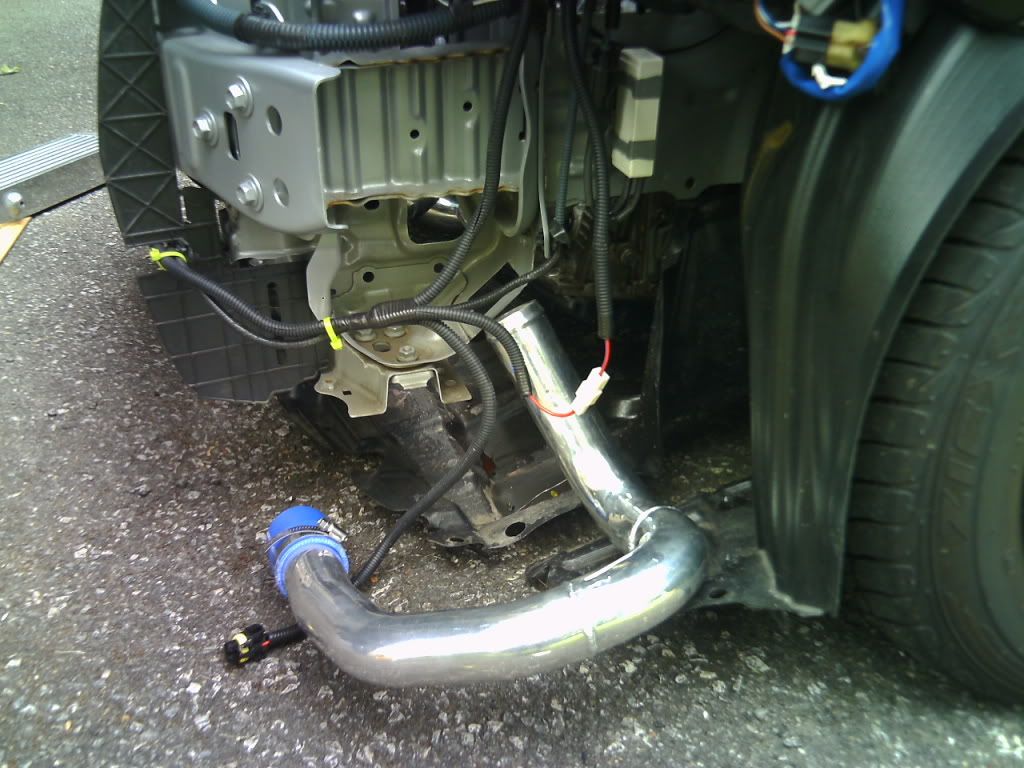 And mounted up 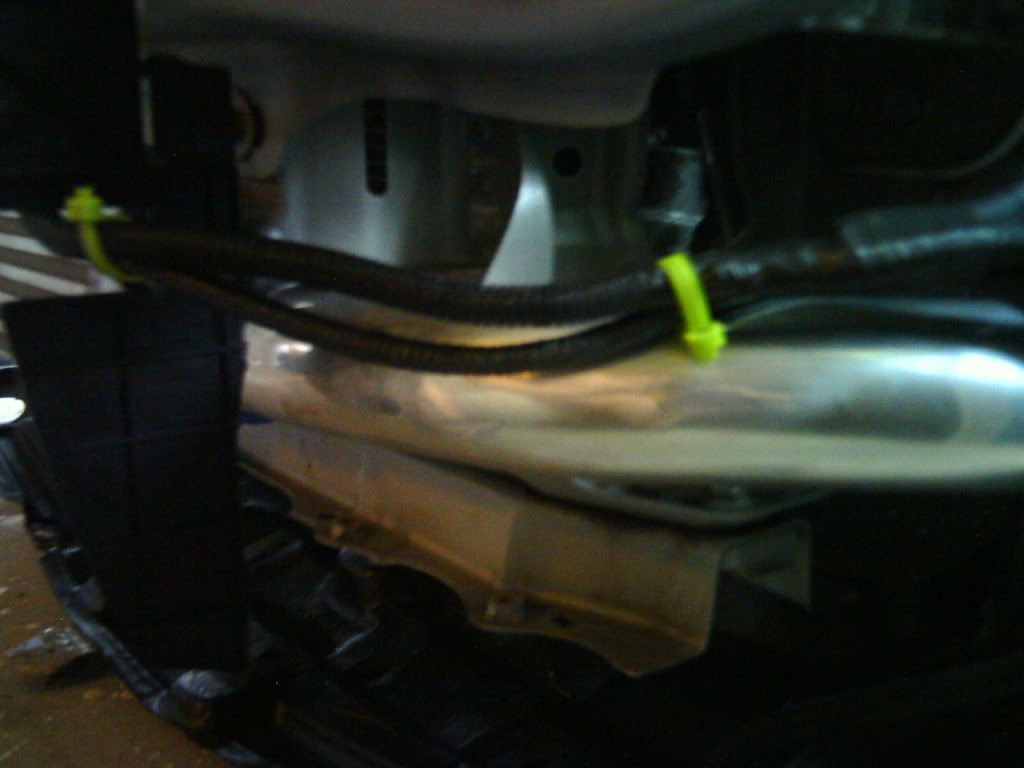 Finally the intercooler... Unfortunately, fitment sucks. 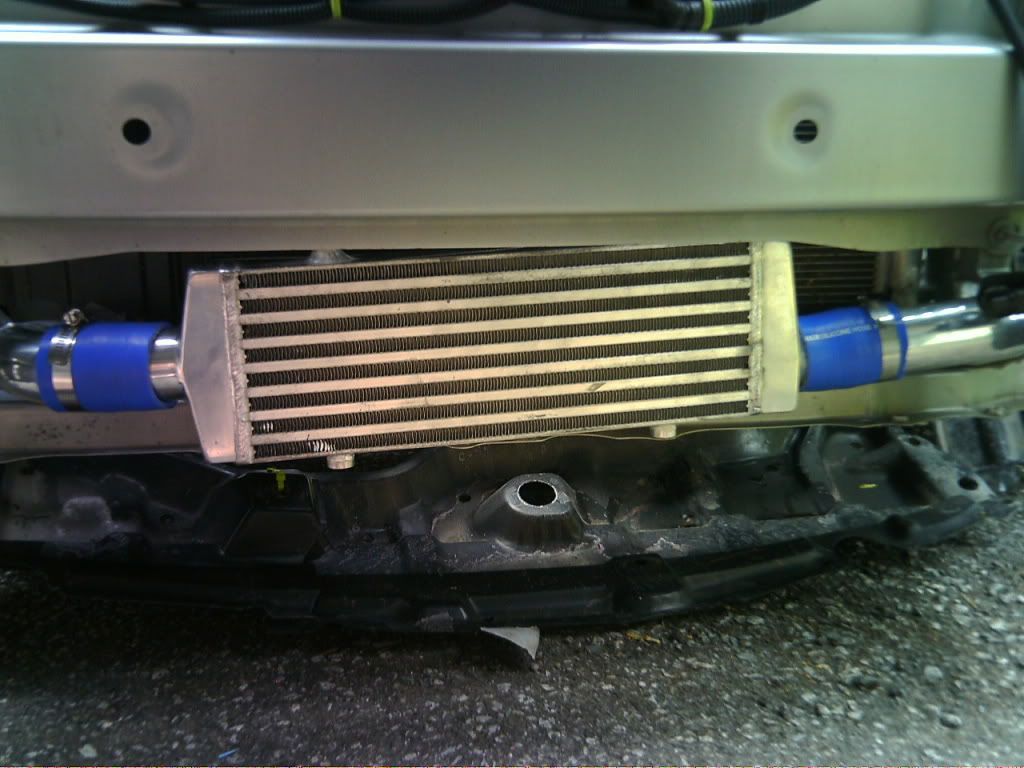 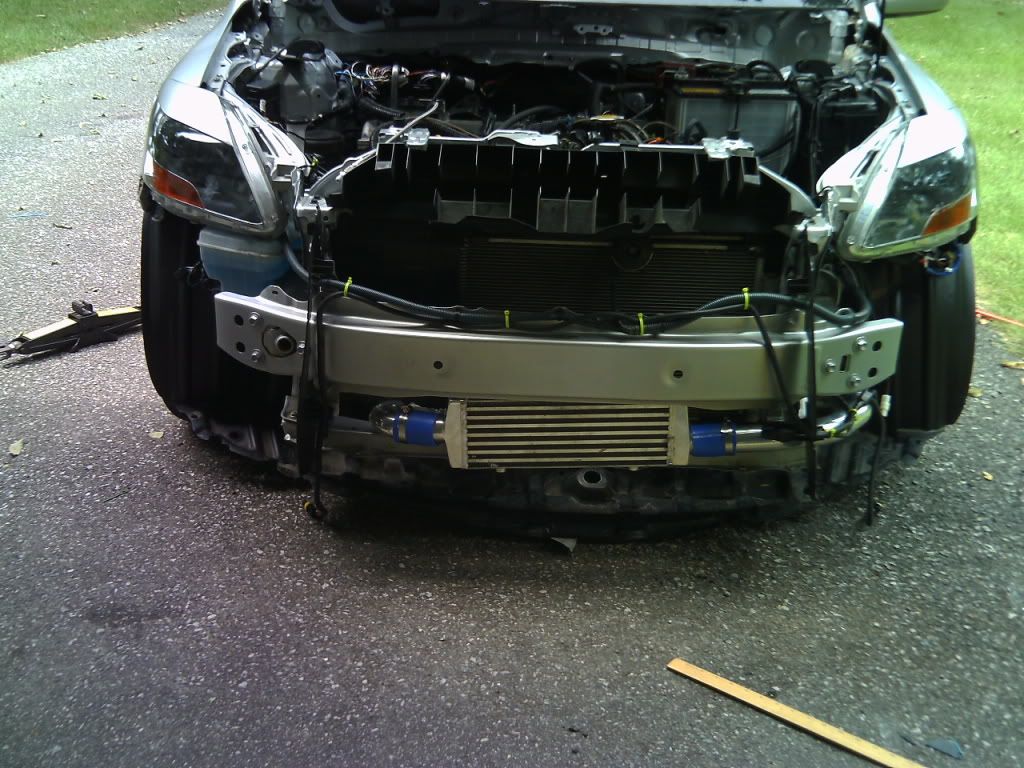 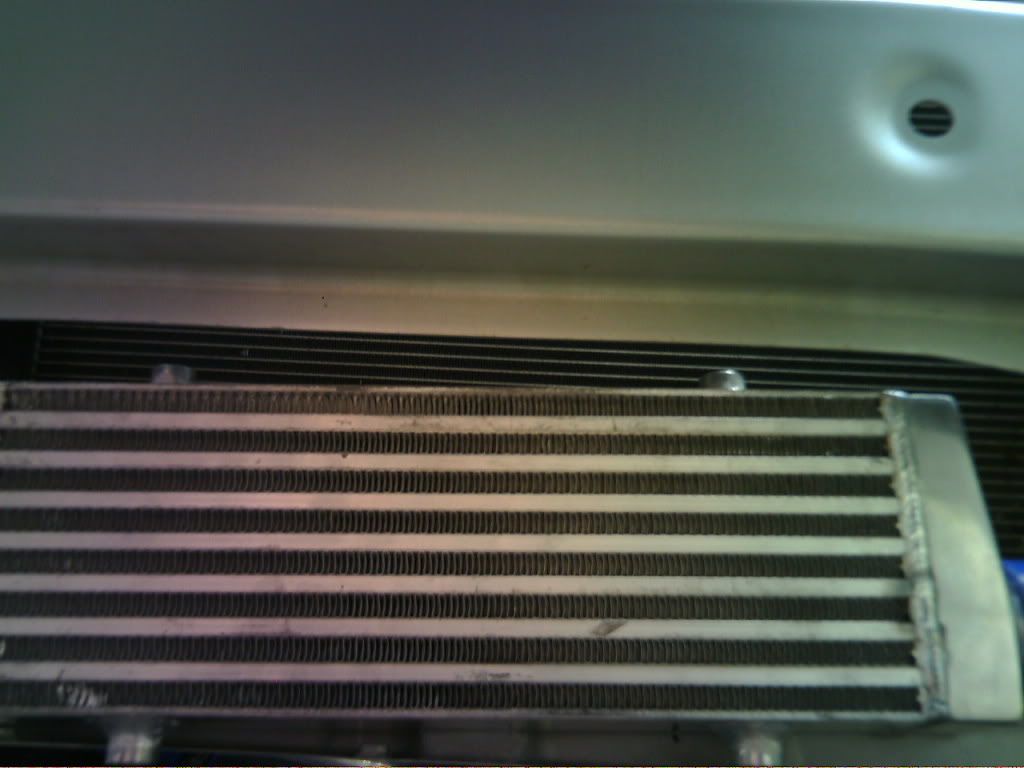 As you can see by the last picture, the intercooler isn't even CLOSE to the steel bumper support. I have no friggin clue how I'm going to attach this thing. With the silicon clamps on it's pretty solid, but I'm not happy with just that. So far the only idea I had was to JB weld the bottom to where the bolt holes are for the skid plate. Again, I'm open to thoughts. I'd also like to point out that it seems like my solution to everything is JB Weld.  So... I'm getting pretty close guys. Need to solve the aforementioned problem, tighten the mani bolts, then all is left is to run the lines. I'm hoping tomorrow is the day, however the weather seems to disagree with me.  Gonna try to set something up so I can work, I have all day available so it'd be a huge waste. Last edited by Focus_Sh1ft; 08-23-2010 at 09:58 PM. |
||
|
|
|
|
08-21-2010, 11:42 PM
|
#105 |
|
vroom vroom
Drives: lil red 5-door Join Date: Sep 2006
Location: Bangkok, Thailand
Posts: 7,744
|
what are those nubs at the top and bottom? can you screw stuff into that? then some brackets might do the job!
or, big ol zip ties or, leave it as-is, and if anyone asks, tell them lopsided intercoolers are all the rage in Japan...
__________________
The price of freedom of religion, or of speech, or of the press, is that we must put up with a good deal of rubbish. - Robert Jackson Bye bye 1NZ... |
|
|
|
|
08-22-2010, 12:02 AM
|
#106 |
|
Drives: 2008 Yaris LB Join Date: Jul 2010
Location: PA
Posts: 899
|
I am sooo jealous. Never owned an FI car and it is my dream:D Part of the reason why I bought a near-new car for $8k was to save money for mods like this. lol
Good luck and hope it works great!!!x |
|
|
|
|
08-22-2010, 10:45 AM
|
#107 | |
|
Drives: 08 Yaris Turbo; 06 tC Turbo Join Date: Jan 2010
Location: New Jersey
Posts: 875
|
Quote:
Oh and, last time I checked, lopsided intercoolers weren't cool ANYWHERE.  The obvious solution would be to make the car lopsided, am I right? 
|
|
|
|
|
|
08-22-2010, 11:36 AM
|
#108 |
|
C'est la vie
Drives: 2009 2 door hatchback Join Date: Aug 2009
Location: chicago
Posts: 482
|
Check cdydjded profile pictures he has some good pics of the very simple brackets he made to mount the intercooler. I did the same thing. Very solid. I also mounted the top with a thin strip of thick sheet metal bolted to those nubs on the cooler and to the bottom of the inside of the bumper bar.
|
|
|
|
 |
|
|
 Similar Threads
|
||||
| Thread | Thread Starter | Forum | Replies | Last Post |
| FS: Autometer Cobalt 6170 Boost Gauge | Nexus1155 | Items for Sale by private party | 2 | 02-02-2011 04:08 PM |
| Multiple cylinder misfire under boost | LtNoogie | Forced Induction Forum | 13 | 11-02-2009 04:44 AM |
| Fill up with Super before starting your boost project | LtNoogie | Forced Induction Forum | 5 | 12-01-2008 06:41 PM |
| Supercharger Selection and Limiting Boost | Nexus1155 | Forced Induction Forum | 1 | 12-01-2008 03:51 PM |
| WTB: Boost Gauges | Teruyume | Items for Sale by private party | 4 | 11-12-2006 02:42 PM |


 Linear Mode

