
 |
 |
|
|
 08-21-2010, 12:17 AM
|
#109 | |
 
Drives: 08 Yaris Turbo; 06 tC Turbo Join Date: Jan 2010
Location: New Jersey
Posts: 875
|
Quote:
 I only cut off about 1/4" of that bolt, but even that gave me more than enough room. The really annoying part was removing those two black frame pieces... It was nearly impossible to get a socket on them and give them enough torque to get em moving. |
|

|

|
|
08-21-2010, 12:20 AM
|
#110 | |
|
Drives: 08 BB LB Join Date: Dec 2008
Location: Maiden, NC
Posts: 785
|
Quote:
Boredom ftl 
__________________
Too much of car culture is people taking things too seriously and not enjoying it for what it is. |
|
|
|
|
|
08-21-2010, 12:25 AM
|
#111 |
|
Drives: 08 Yaris Turbo; 06 tC Turbo Join Date: Jan 2010
Location: New Jersey
Posts: 875
|
Waiting for school to start back up is never a good thing.
 I'm glad I'm keeping you entertained lol. Expect a solid 8 hours of work (and pictures) on this on Sunday. |
|
|
|
|
08-21-2010, 12:37 AM
|
#112 | |
|
Drives: 08 BB LB Join Date: Dec 2008
Location: Maiden, NC
Posts: 785
|
Quote:
And I do enjoy your thread. You, pimp_my_yaris and cdydjded are an inspiration.
__________________
Too much of car culture is people taking things too seriously and not enjoying it for what it is. |
|
|
|
|
|
08-21-2010, 01:17 AM
|
#113 |
|
Drives: 2008 Yaris LB Join Date: Jul 2010
Location: PA
Posts: 899
|
I feel your pain. When things are torqued down real tight I can never get them off. That's why I end up paying others to do my installs instead of doing it myself. lol
I'd rather do it but half the time shit never works out right for me.... |
|
|
|
|
08-21-2010, 10:17 AM
|
#114 |
|
Bathroom + Laptop = <3
Drives: Audi Join Date: Aug 2006
Location: Dorchester
Posts: 1,009
 |
Usually a deep socket on a wobbly head extension is good to get your mani bolts. Or a flex head ratcheting wrench.
I said you may need to reclock it in order to get the piping to go where it needs to go, hopefully thats not the case because off comes the turbo and mani again :( that is SWEET that it bolts up to the stock exhaust, but the stock might have too small diameter of piping. Run open downpipes for now :P ? Its loud but dear god is it sexy. Try to look at alot of pics of other zage installs, i know there are a bunch from that indonesian guy that posts up here. |
|
|
|
|
08-21-2010, 09:41 PM
|
#115 | ||
|
Drives: 08 Yaris Turbo; 06 tC Turbo Join Date: Jan 2010
Location: New Jersey
Posts: 875
|
Quote:
 Quote:
 Zage install, Day three. I only had about two hours to work with today so little got done, but piping is FINISHED!  Lots of little fitment issues once again, starting with this one. 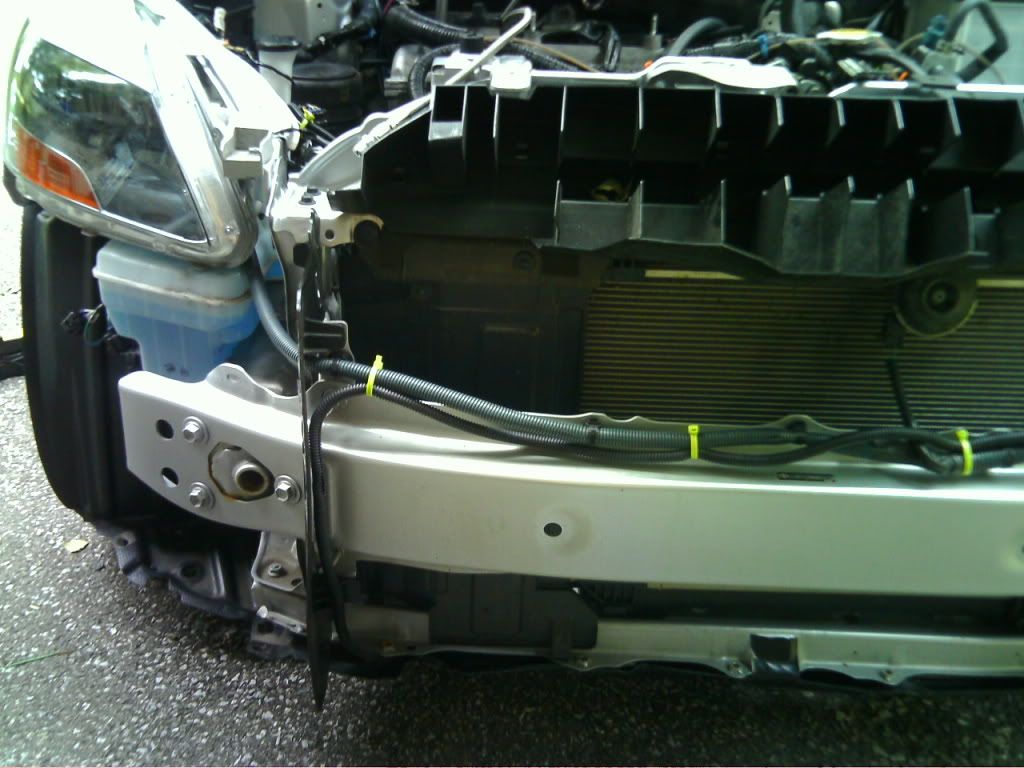 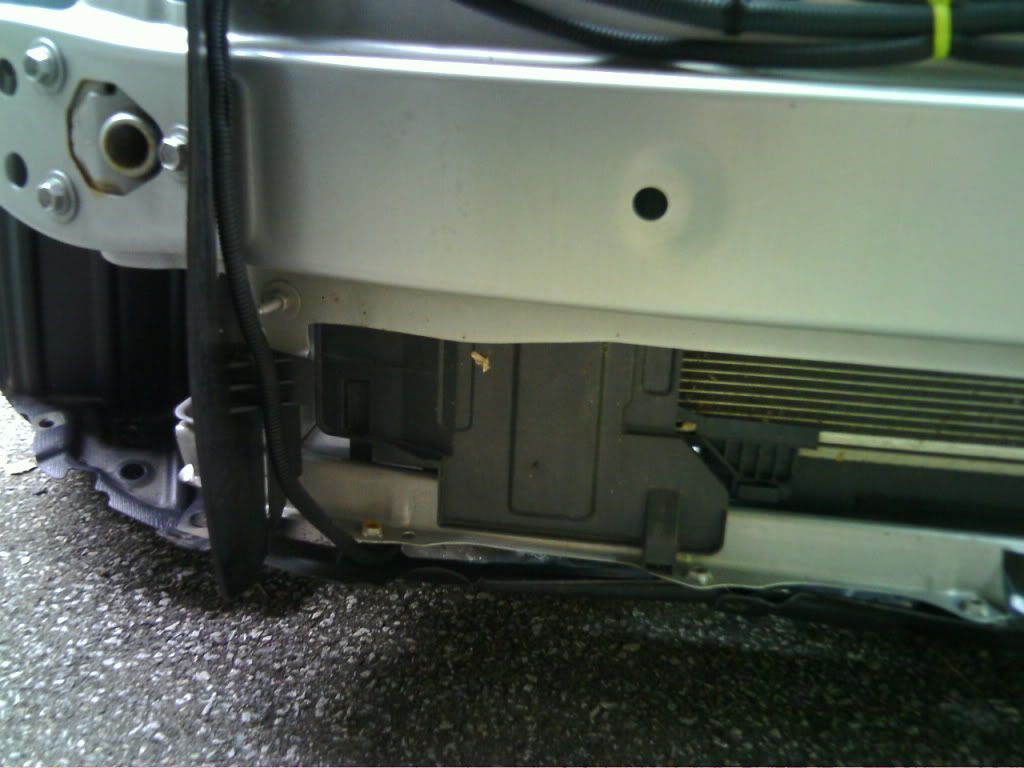 Had to really study the Zage install pictures to figure this one out. I realized they removed the black plastic to the left of the radiator. So I did the same (sort of) 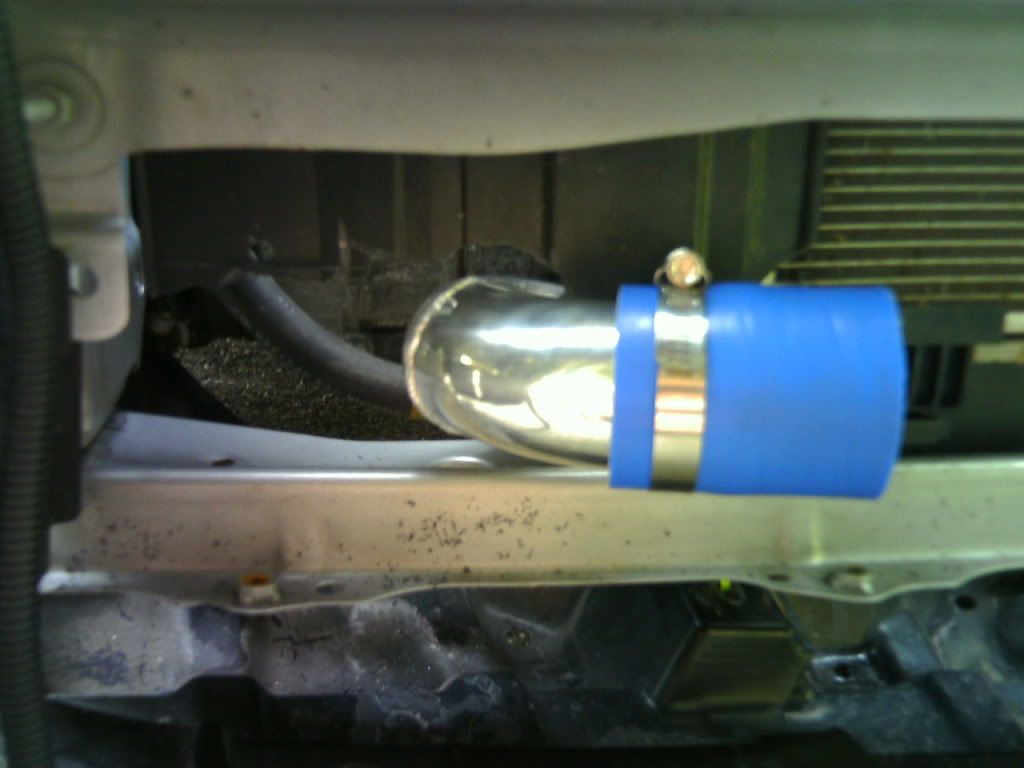 Drilled/hacksawed/handsawed/whatever to cut a bit of the plastic away. Here you can see where the piping off the turbo connects with the pipe in the above picture. 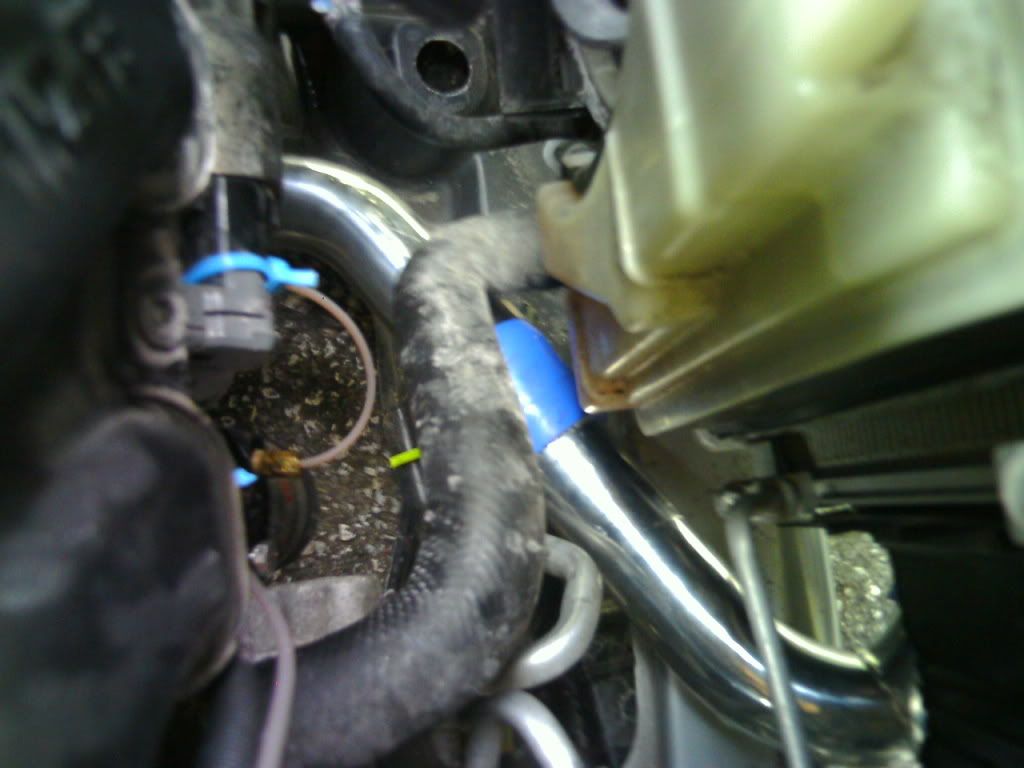 Decided to save the intercooler for last (and glad I did), and jumped to the TB now. Firstly, cheapo CAI coming out 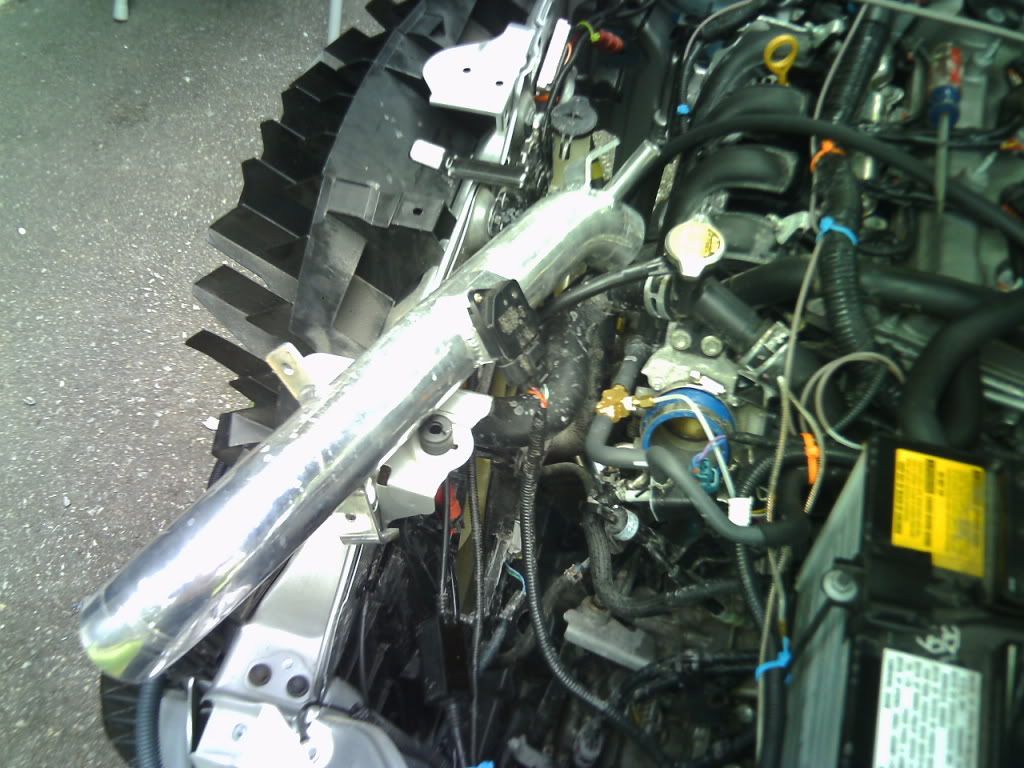 Preping the TB piping 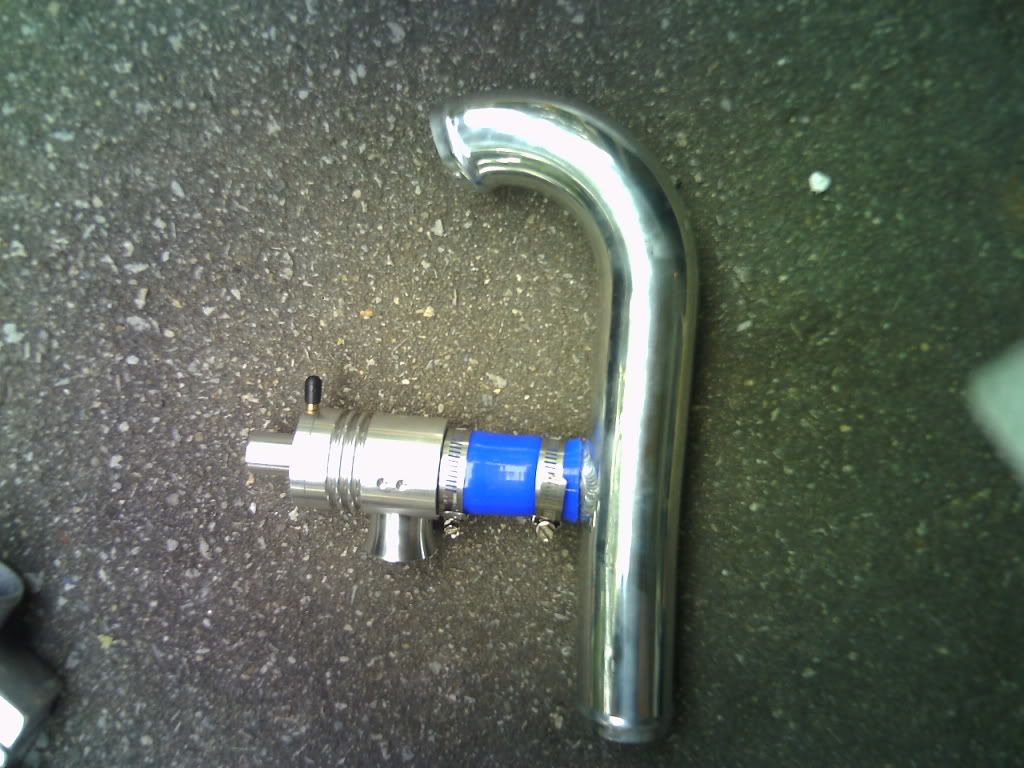 TB piping on 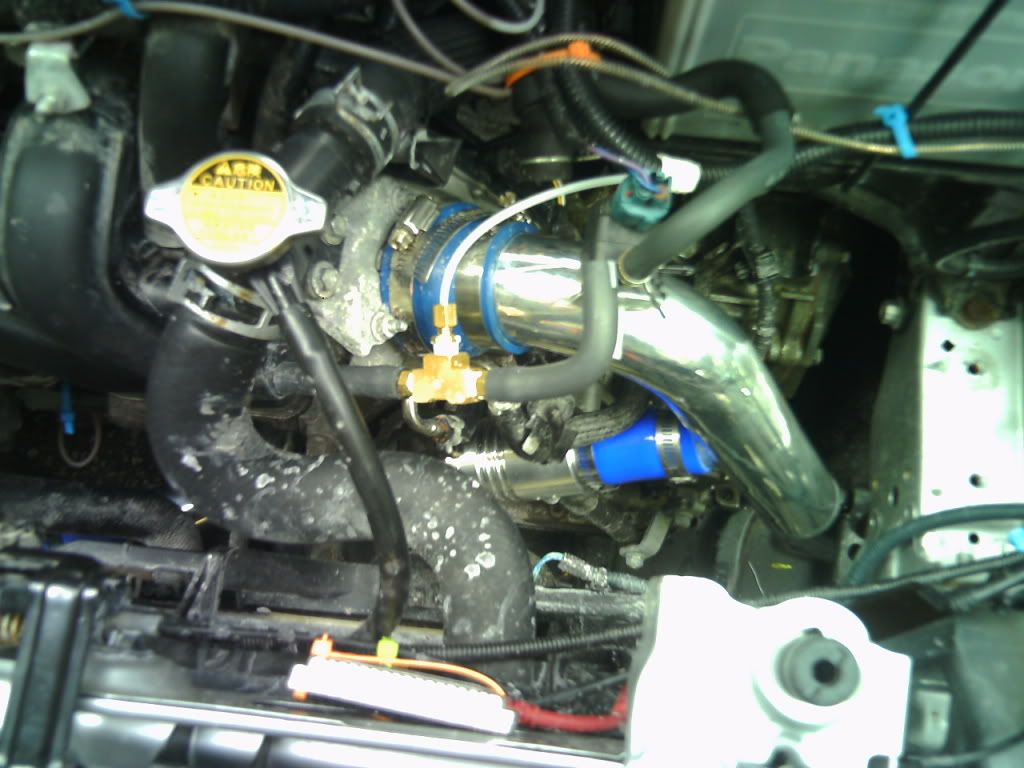 The pipe that goes from TB pipe to intercooler was wacky shaped, so I had to play with it a bit, basically I first thought it was going to go where this black tab is (not the bumper support).  Turns out it goes through the lower part of the bumper support. I had to cut off part of the plastic. Here it is before mounting it up, in approximately the right spot. 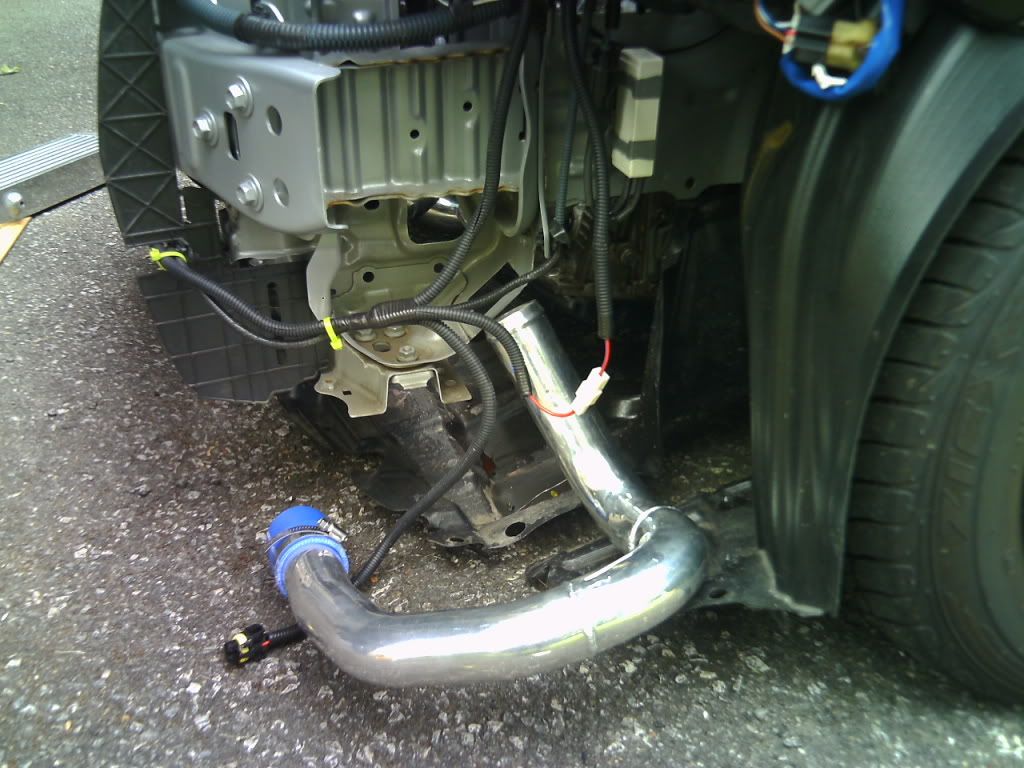 And mounted up 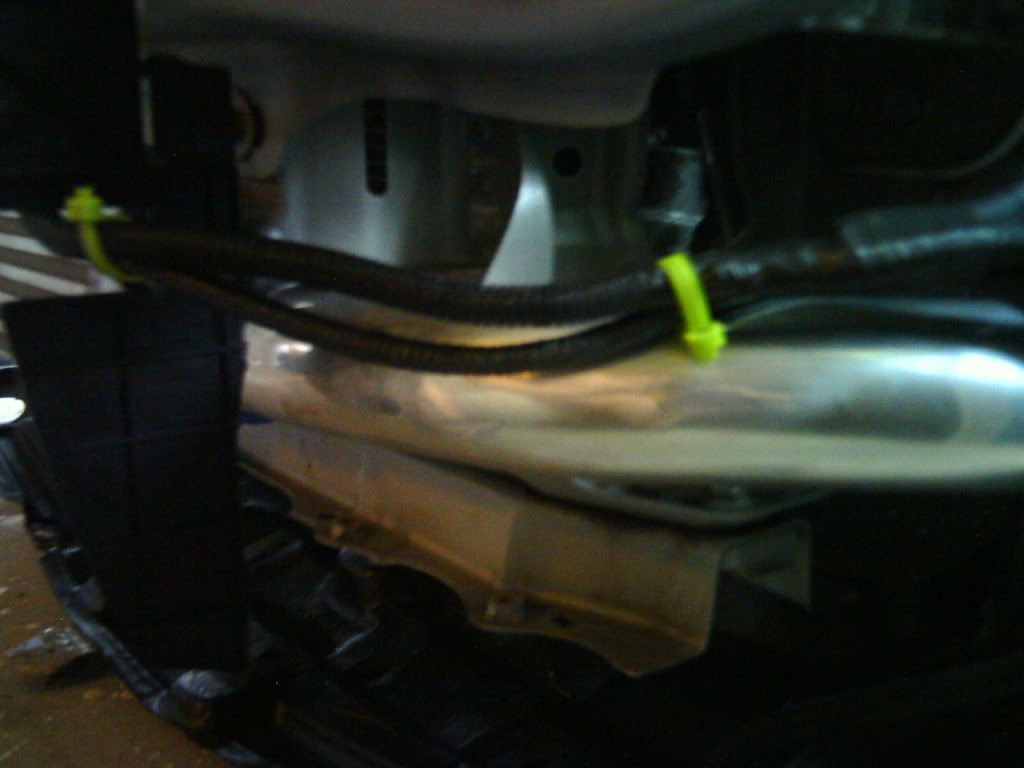 Finally the intercooler... Unfortunately, fitment sucks. 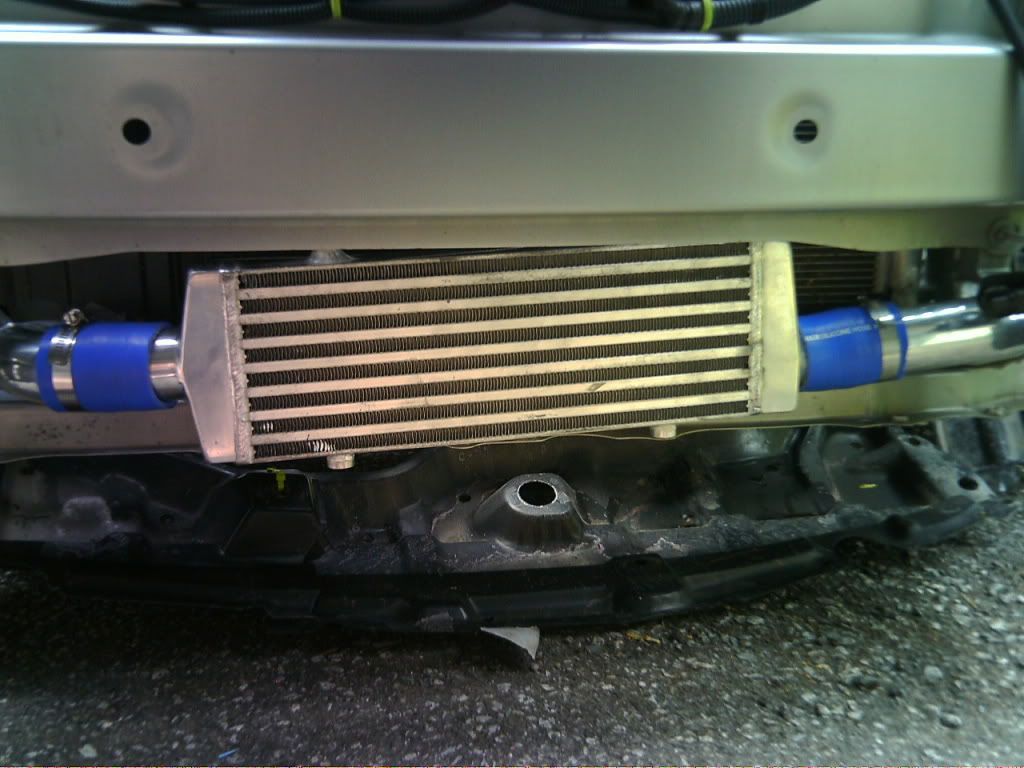 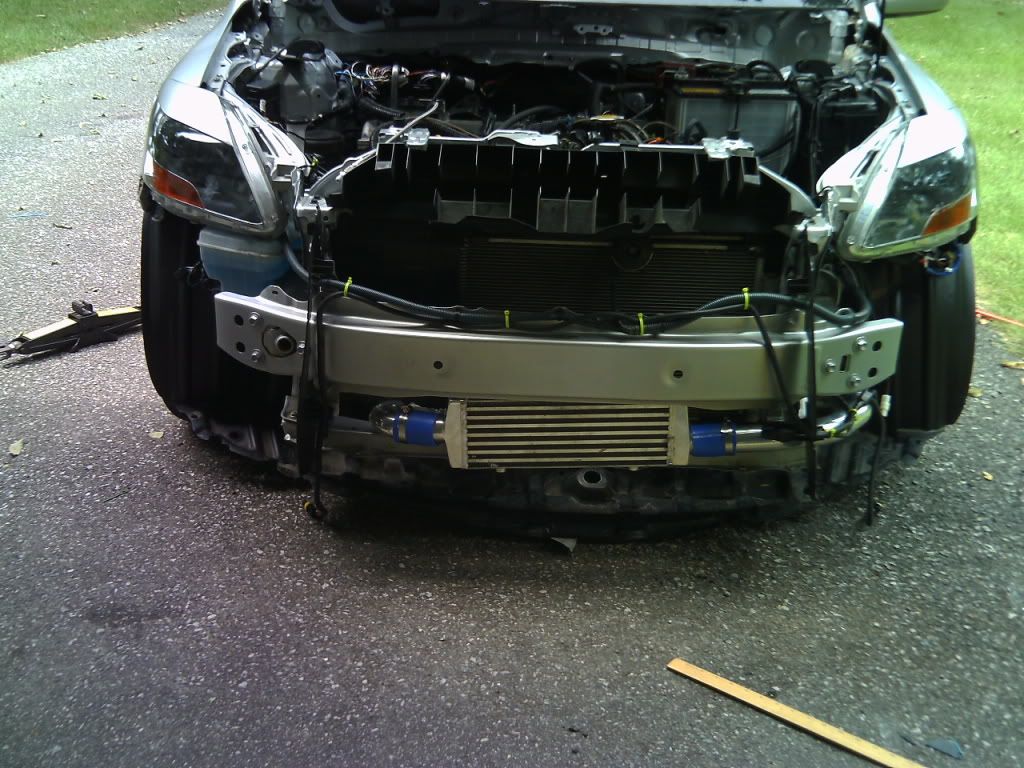 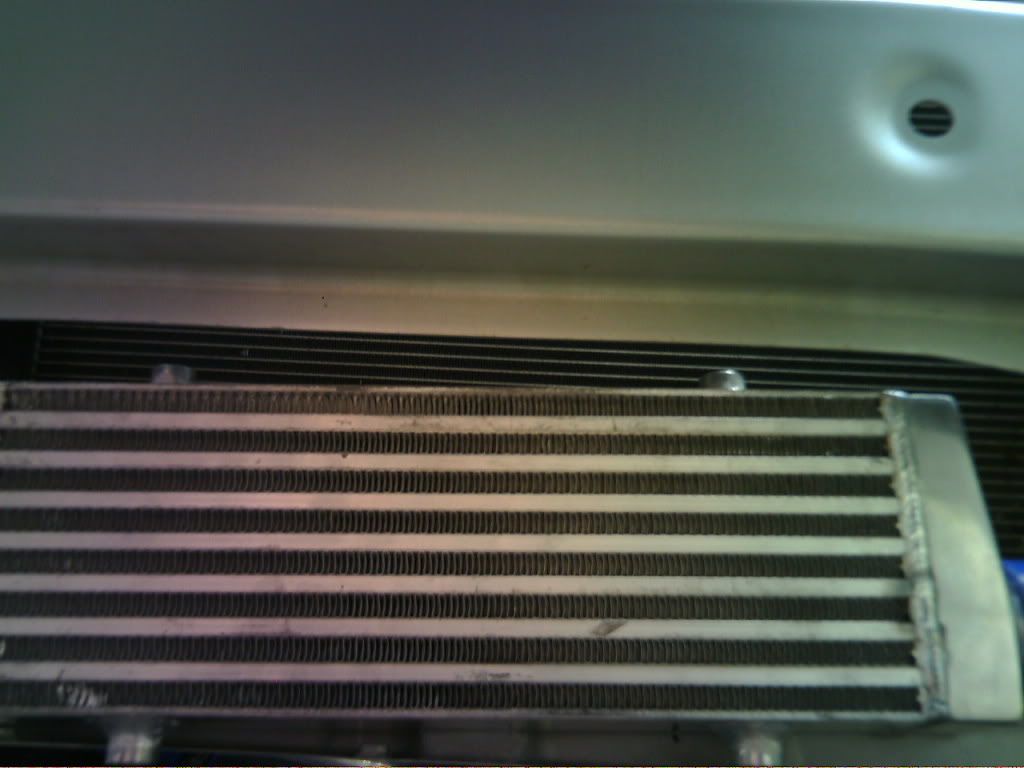 As you can see by the last picture, the intercooler isn't even CLOSE to the steel bumper support. I have no friggin clue how I'm going to attach this thing. With the silicon clamps on it's pretty solid, but I'm not happy with just that. So far the only idea I had was to JB weld the bottom to where the bolt holes are for the skid plate. Again, I'm open to thoughts. I'd also like to point out that it seems like my solution to everything is JB Weld.  So... I'm getting pretty close guys. Need to solve the aforementioned problem, tighten the mani bolts, then all is left is to run the lines. I'm hoping tomorrow is the day, however the weather seems to disagree with me.  Gonna try to set something up so I can work, I have all day available so it'd be a huge waste. Last edited by Focus_Sh1ft; 08-23-2010 at 09:58 PM. |
||
|
|
|
|
08-21-2010, 11:42 PM
|
#116 |
|
vroom vroom

Drives: lil red 5-door Join Date: Sep 2006
Location: Bangkok, Thailand
Posts: 7,744
   |
what are those nubs at the top and bottom? can you screw stuff into that? then some brackets might do the job!
or, big ol zip ties or, leave it as-is, and if anyone asks, tell them lopsided intercoolers are all the rage in Japan...
__________________
The price of freedom of religion, or of speech, or of the press, is that we must put up with a good deal of rubbish. - Robert Jackson  Bye bye 1NZ... |
|
|
|
|
08-22-2010, 12:02 AM
|
#117 |
|
Drives: 2008 Yaris LB Join Date: Jul 2010
Location: PA
Posts: 899
|
I am sooo jealous. Never owned an FI car and it is my dream:D Part of the reason why I bought a near-new car for $8k was to save money for mods like this. lol
Good luck and hope it works great!!!x |
|
|
|
|
08-22-2010, 10:45 AM
|
#118 | |
|
Drives: 08 Yaris Turbo; 06 tC Turbo Join Date: Jan 2010
Location: New Jersey
Posts: 875
|
Quote:
Oh and, last time I checked, lopsided intercoolers weren't cool ANYWHERE.  The obvious solution would be to make the car lopsided, am I right? 
|
|
|
|
|
|
08-22-2010, 11:36 AM
|
#119 |
|
C'est la vie

Drives: 2009 2 door hatchback Join Date: Aug 2009
Location: chicago
Posts: 482
|
Check cdydjded profile pictures he has some good pics of the very simple brackets he made to mount the intercooler. I did the same thing. Very solid. I also mounted the top with a thin strip of thick sheet metal bolted to those nubs on the cooler and to the bottom of the inside of the bumper bar.
|
|
|
|
|
08-22-2010, 11:50 AM
|
#120 |
|
C'est la vie
Drives: 2009 2 door hatchback Join Date: Aug 2009
Location: chicago
Posts: 482
|
I also had to removed all the plastic crap as well. I also had to trim some sheet metal off the core support to get my pipes to fit on my intercooler and mount it straight. I used pneumatic scroll saw to do this quickly. But U could mabe use a electric sawzall too. The most important part is if you get frustrated just walk away and have a beer. It always brings on a good idea.
|
|
|
|
|
08-22-2010, 12:27 PM
|
#121 |
|
Drives: 08 Yaris Turbo; 06 tC Turbo Join Date: Jan 2010
Location: New Jersey
Posts: 875
|
So I just went outside to check my car. The stupid tarp collapsed and water got all over the manifold. It looks TERRIBLE. Like rust tbh, I'm hoping it's just the heat-resistant paint reacting? Thoughts?
|
|
|
|
|
08-22-2010, 02:40 PM
|
#122 |
|
Drives: 2008 Yaris LB Join Date: Jul 2010
Location: PA
Posts: 899
|
How could it rust overnight?
Highly doubtful. |
|
|
|
|
08-22-2010, 04:46 PM
|
#123 |
|
Drives: 08 Yaris Turbo; 06 tC Turbo Join Date: Jan 2010
Location: New Jersey
Posts: 875
|
Exactly as I thought, but the iron cast appears to becoming iron oxide. I don't think it's an issue at the moment, but I'm worried it'll spread. I was thinking about it too and it would probably get like this anyway once the exhaust is run through it for long enough. I'll post a picture later.
Unbelievably, one of my flange nuts snapped as well. It's still threaded for the most part, so I'm probably going to leave it and loosen all the others slightly. Clearly today was a bad day to work on it, so I canned it for now.
|
|
|
|
|
08-22-2010, 11:25 PM
|
#124 |
|
Bathroom + Laptop = <3
Drives: Audi Join Date: Aug 2006
Location: Dorchester
Posts: 1,009
|
Yeah man today was a bad day to wrench in New England, rain sucked. went to harbor freight thats 10 miles down the road, legit took 4 hours to get everything and get out, and i still didn't get this dirtbike were playing with started.
Anyways, it may oxidize a bit, but you will be fine as long as nothing got into the engine itself that is. There will always be moisture back there somehow sometimes someway so it is bound to happen wether you put water on it or not unless you coat it with ceramic coating. Have you ever seen a manifold stay perfect looking? 
|
|
|
|
|
08-23-2010, 09:54 PM
|
#125 |
|
Drives: 08 Yaris Turbo; 06 tC Turbo Join Date: Jan 2010
Location: New Jersey
Posts: 875
|
Day 4
Alright guys, I'm so close... But I'm soooo beat.  EVERYTHING is installed. At this point I'm waiting for the sealant on the Zage oil pan to dry so I can put my oil back in. Yeah, I decided to use it afterall. To start, here's a picture of the cast iron rusting 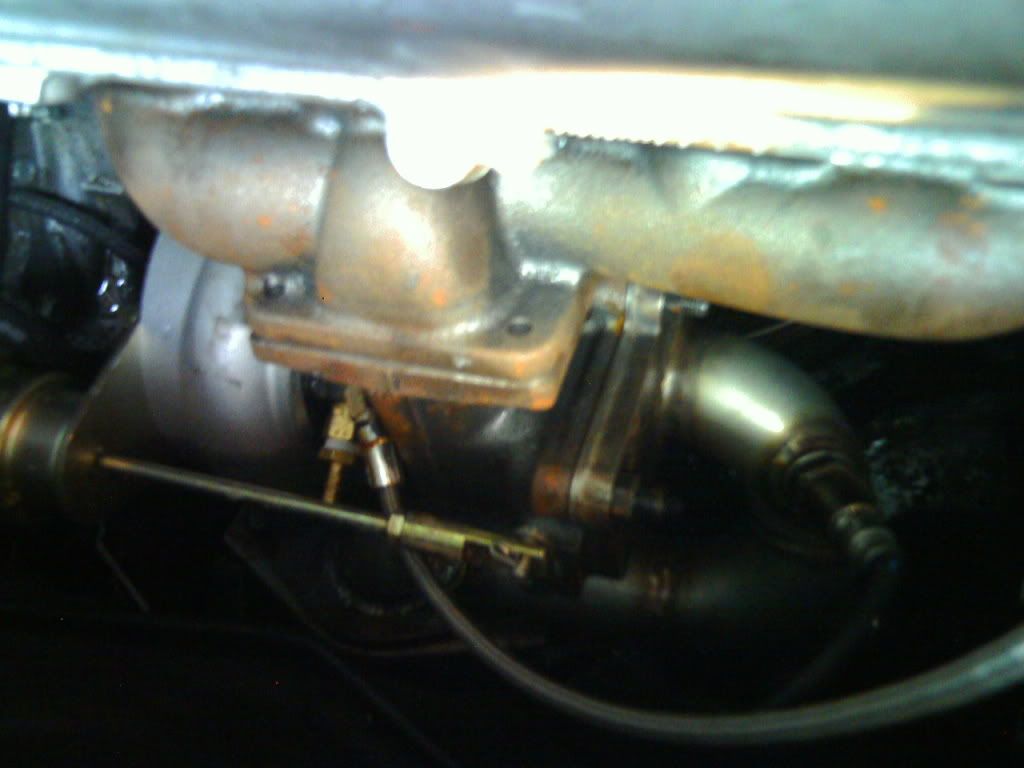 Started the day off trying to mount the intercooler. Whipped up these brackets. 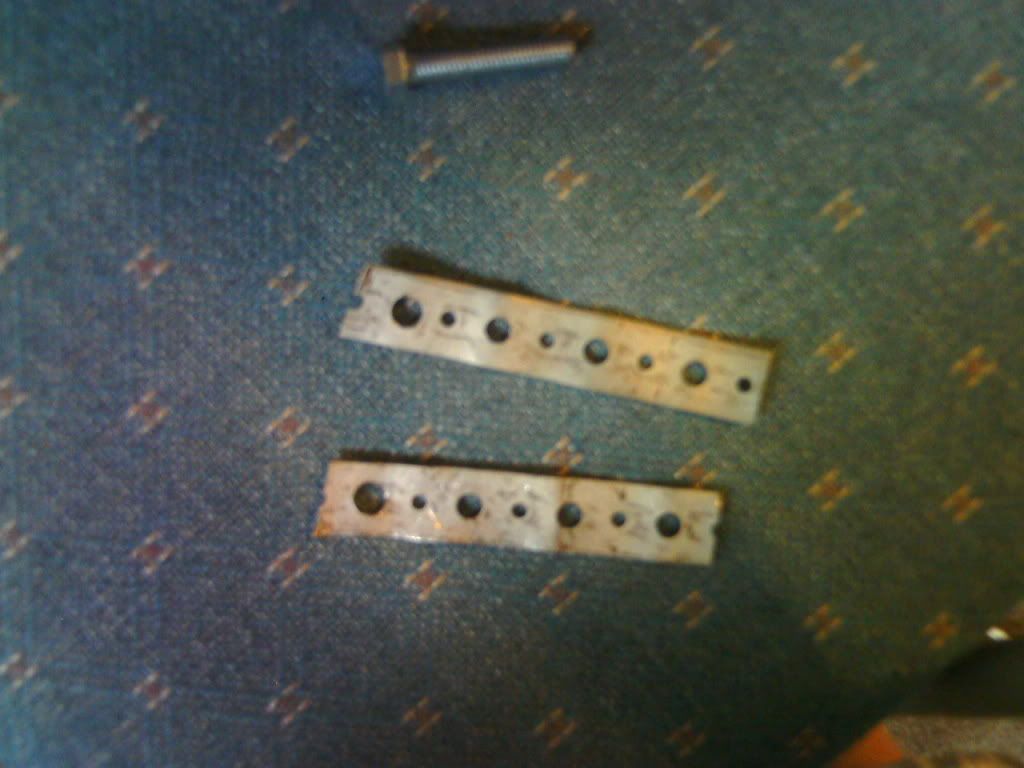 Couldn't drill through the bumper support, so I gave up for the time being. That steel is THICK. Started working on the oil feed and return. 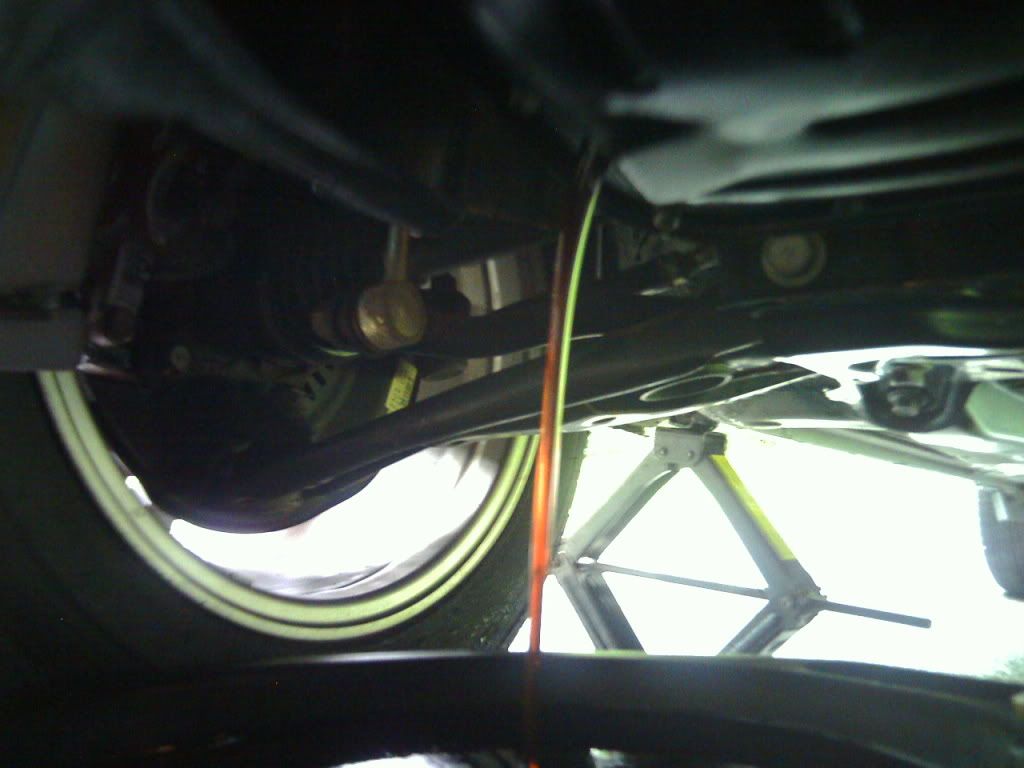 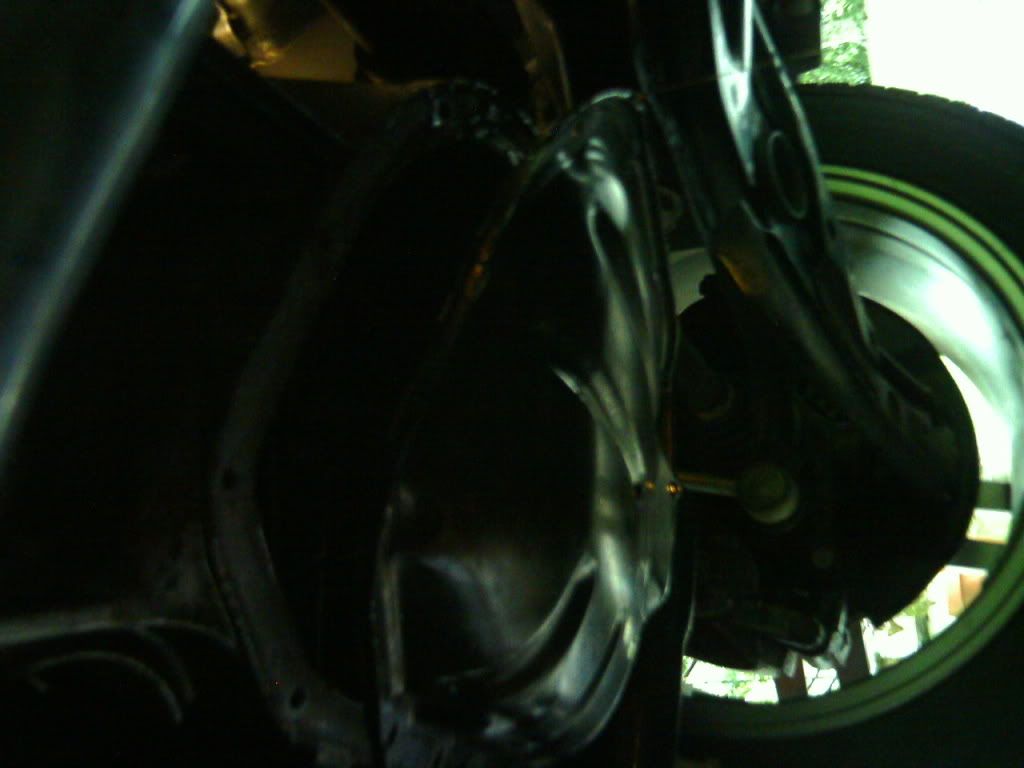 I got the pan off, then for whatever reason decided to use the Zage oil pan afterall. The comments I made about it's design still stand, and I pray it works. Firstly, here's some pictures of it. 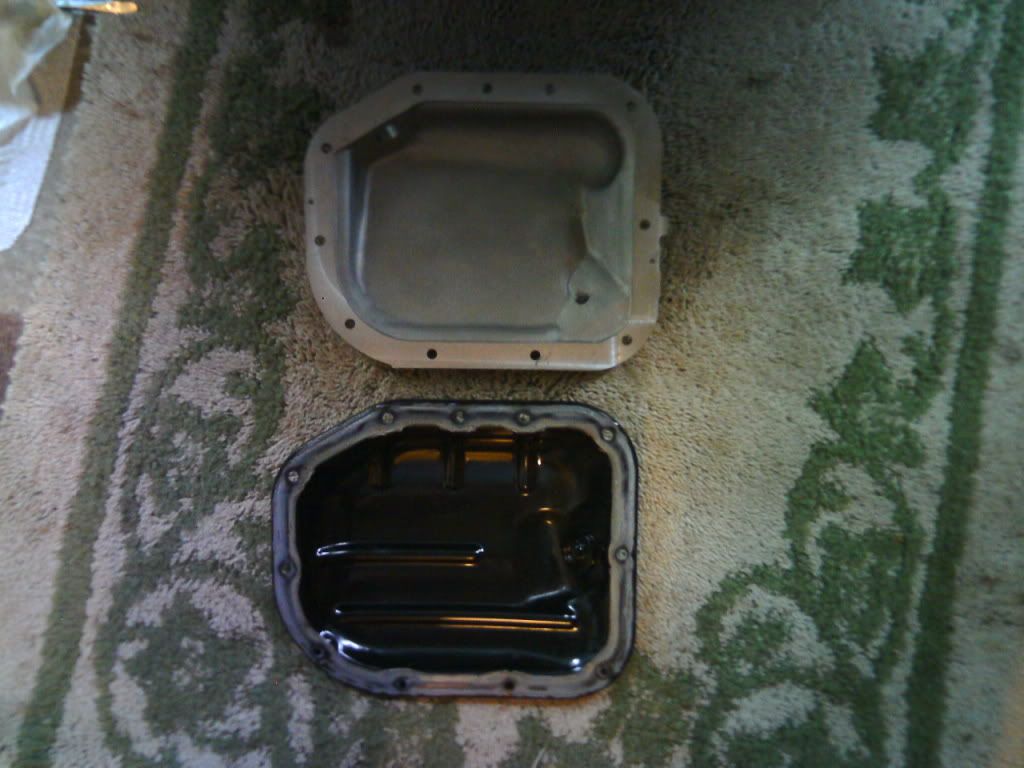 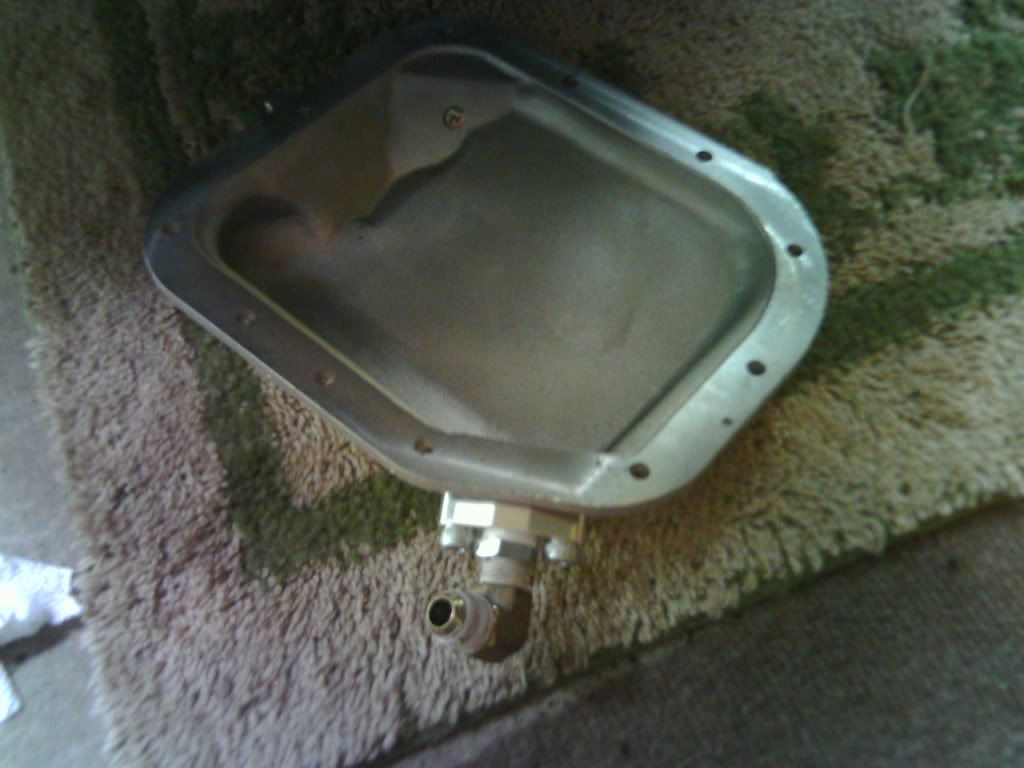 But instead of just putting it on, I brainstormed how to guarantee there wouldn't be an problems. I basically did two things that will hopefully allow gravity to constantly return oil. I made sure the elbow angle didn't go any lower than what's seen here. 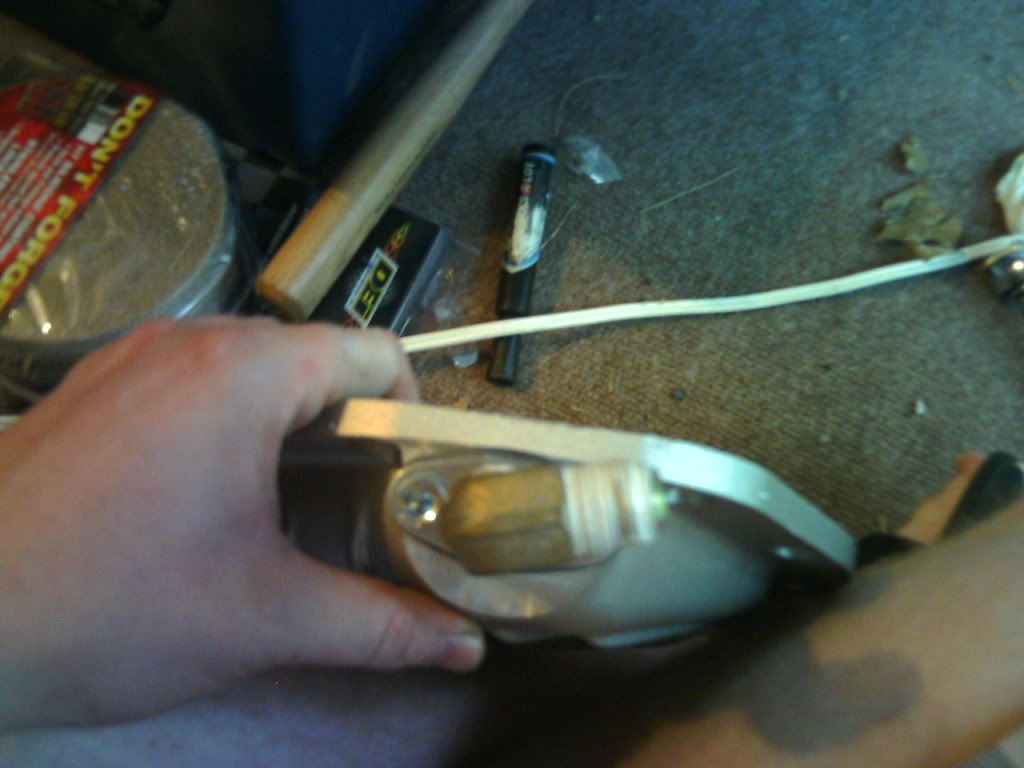 Then I made a cut in the engine block to allow for a slightly more diagonal orientation of the return line, other than the horizontal way the line would have ran. 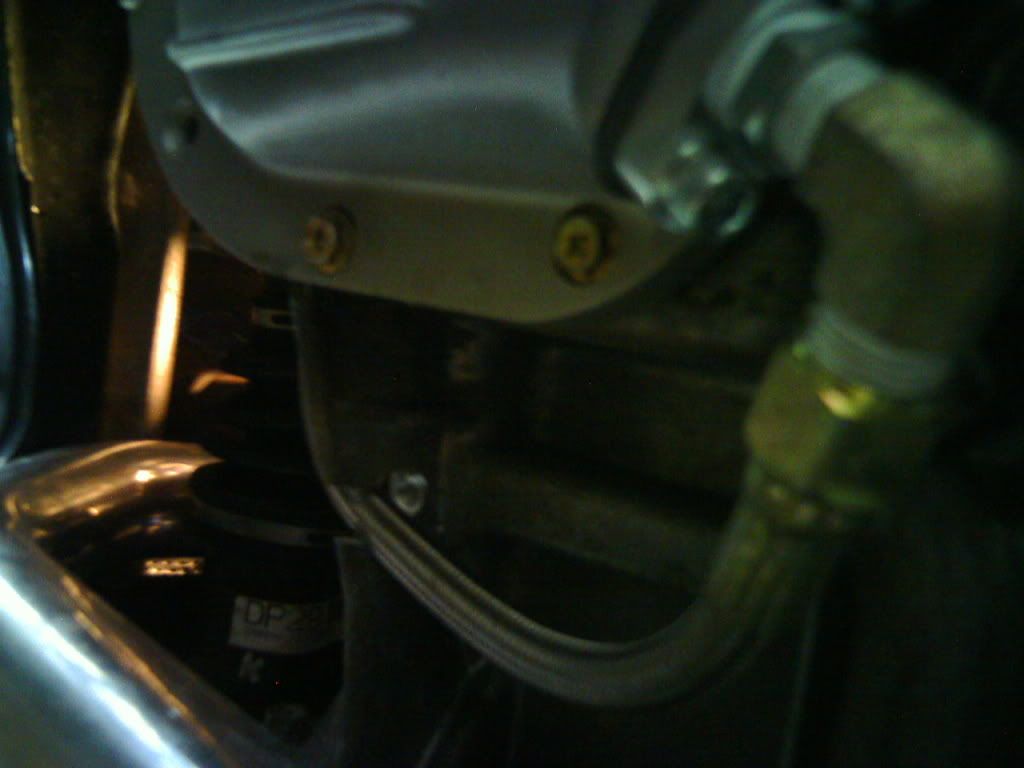 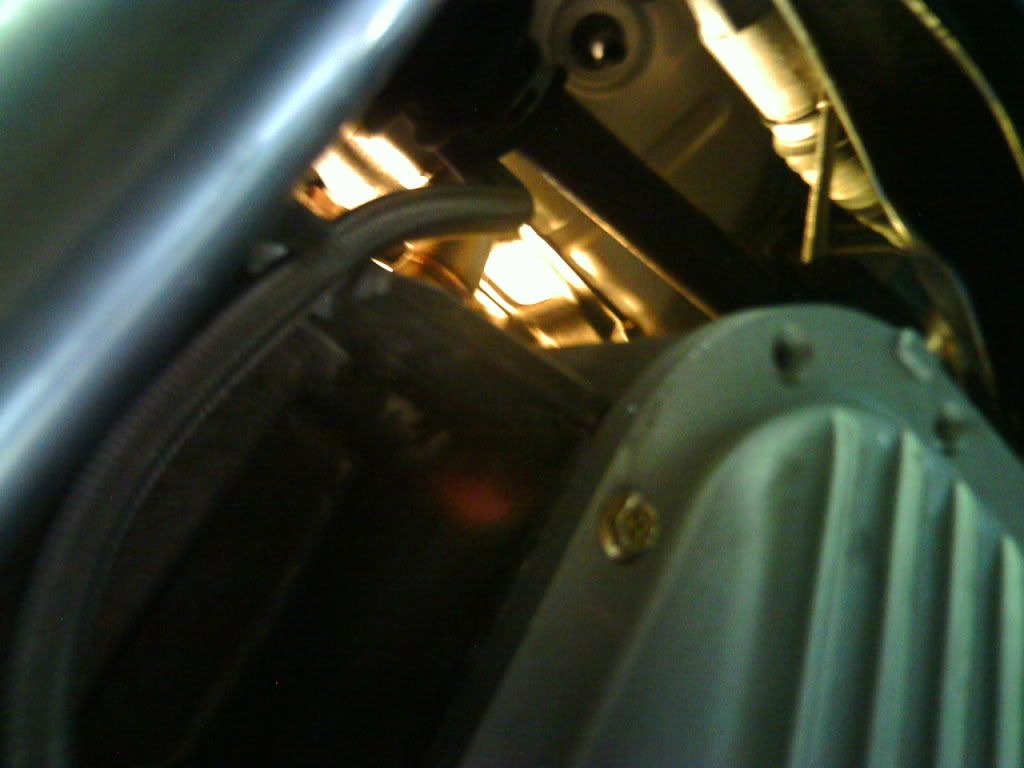 I poured some oil in after the pan was installed, but it leaked everywhere. I used silicon sealant to seal all bolts and the edges of the pan. Oh and a quick aside, here's one of the impossible to reach manifold bolts. 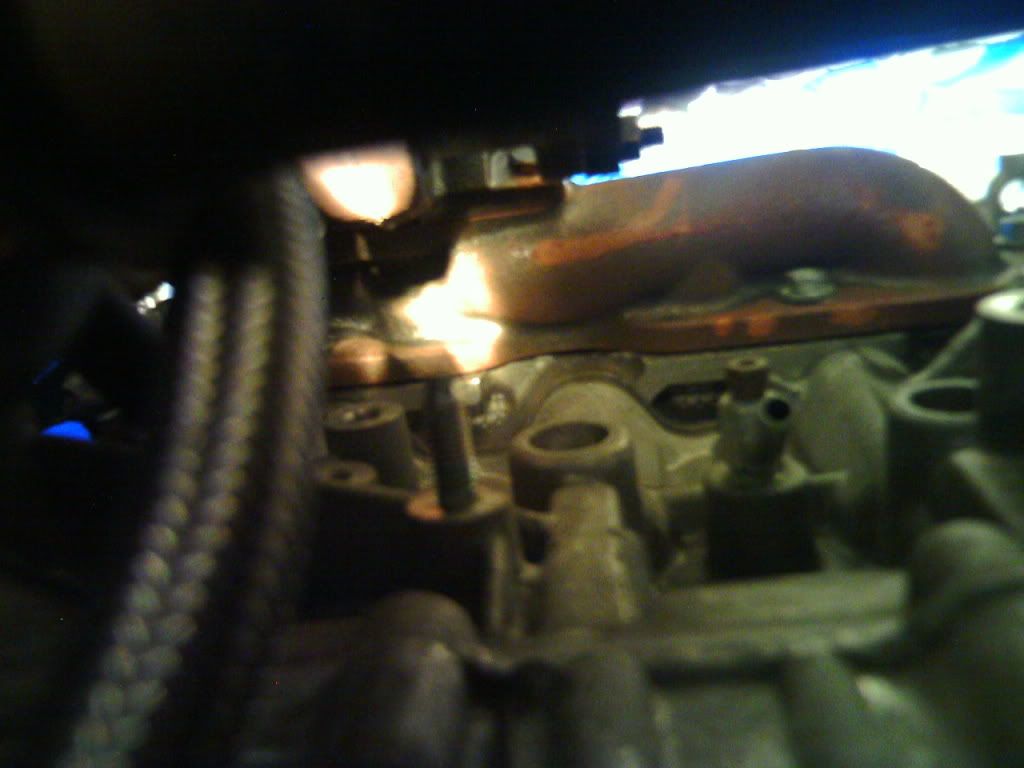 I finally was able to get an open wrench on it (barely) to get it somewhat tight. There was no way it was happening from the top of the car. Ok so once the pan was done I worked on installing the bypass line for the BOV. 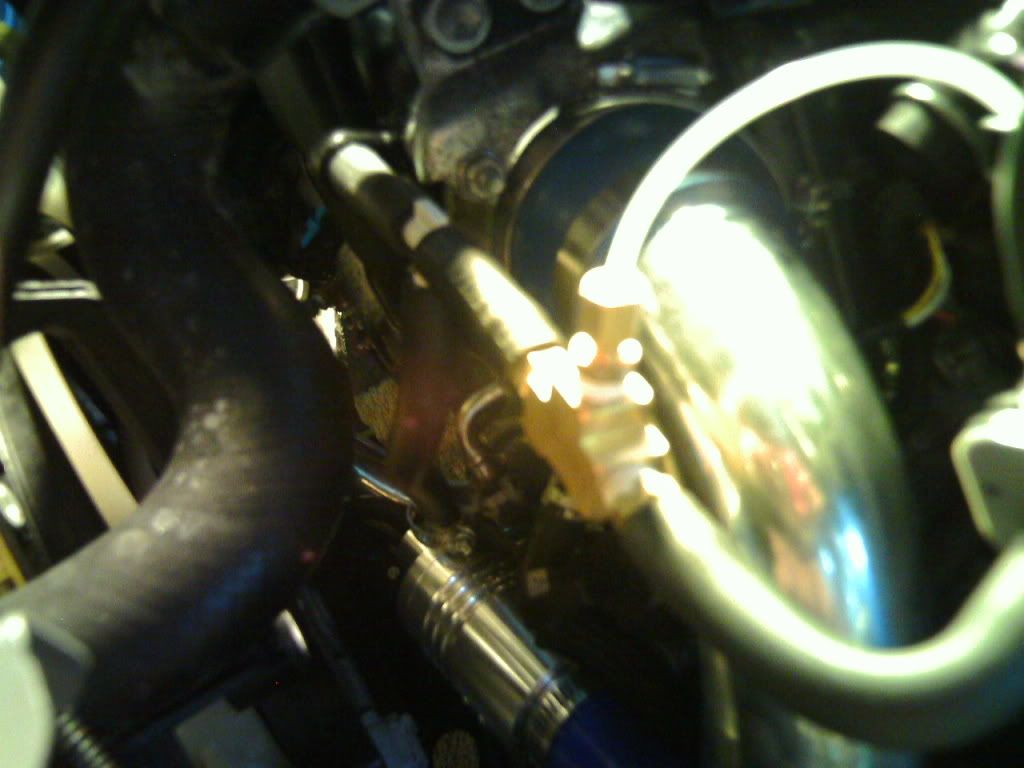 That was easy peesy. The coolant lines sucked (and so do these pictures). 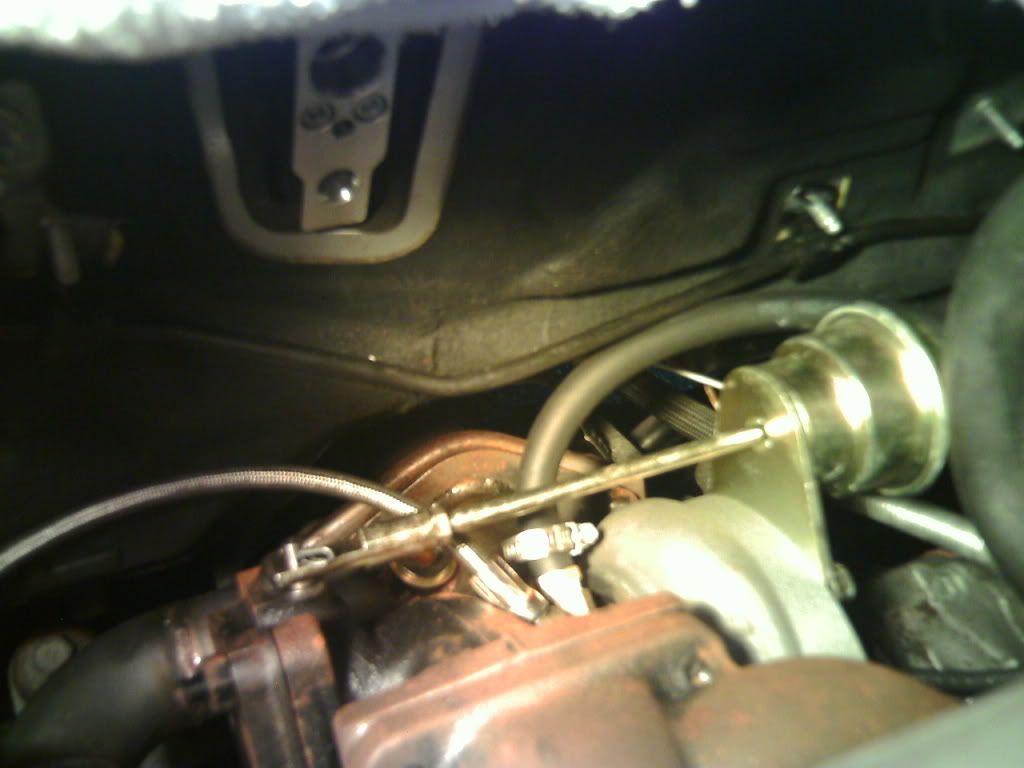 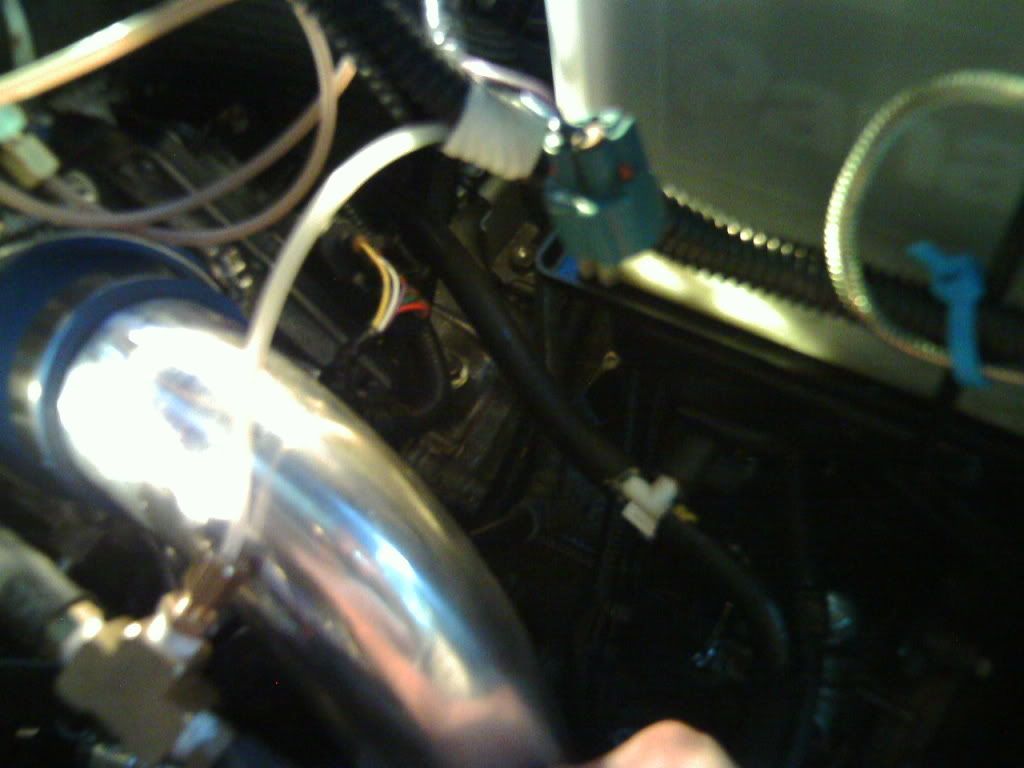 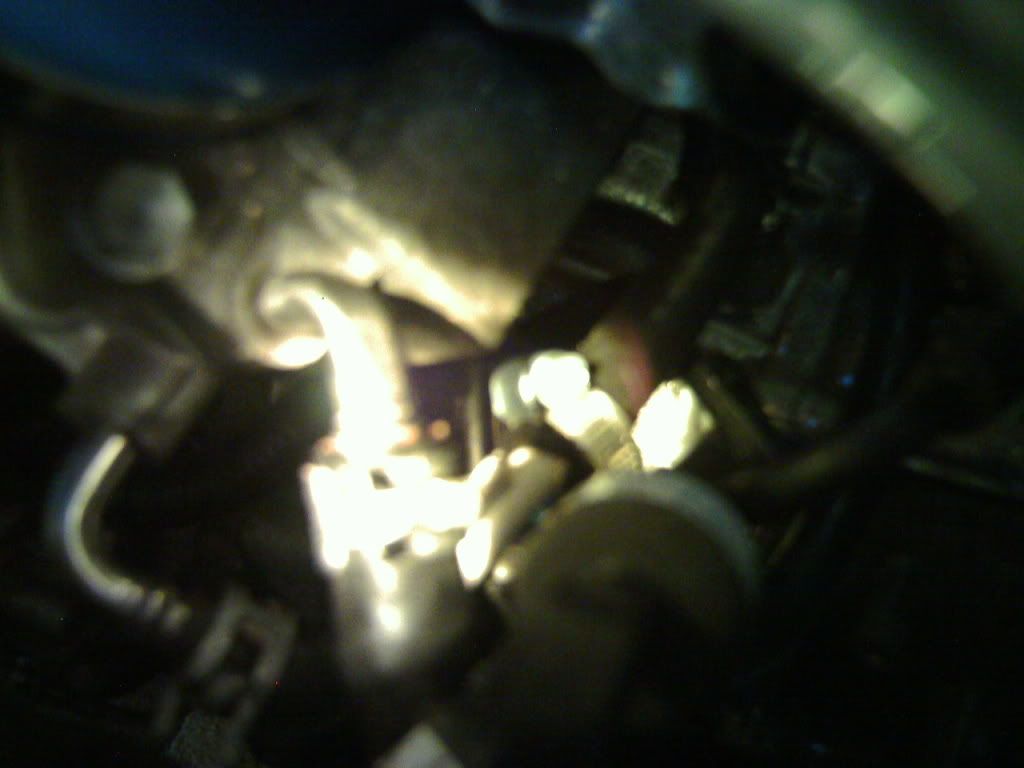 Installed the air filter and MAF last. 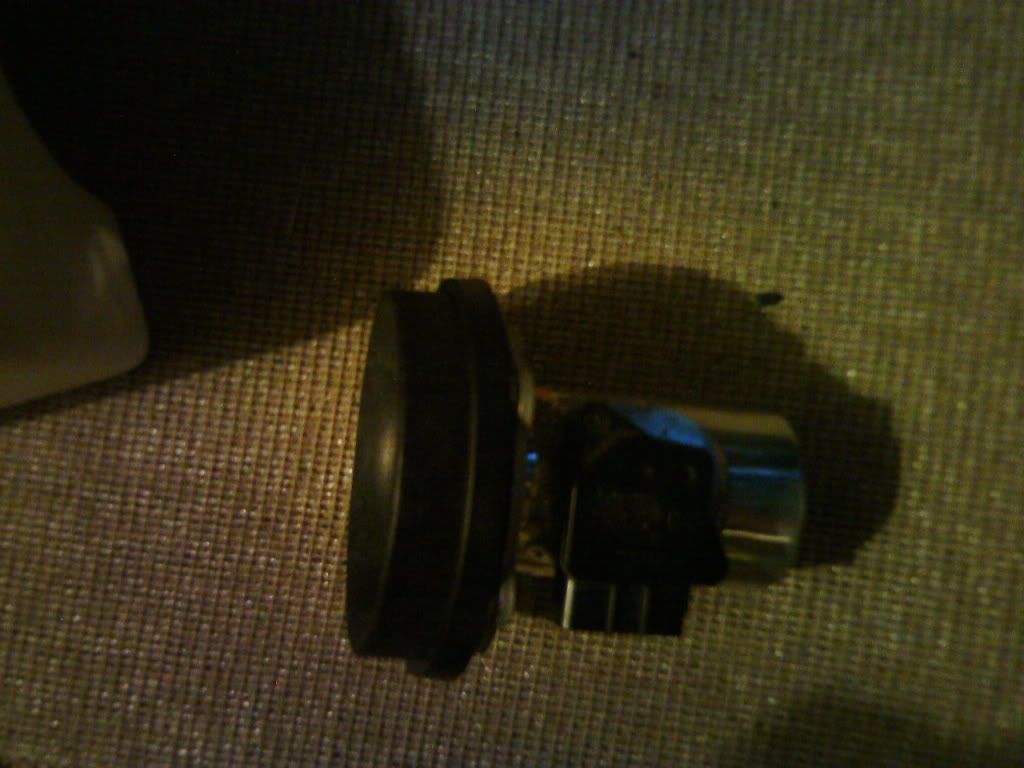 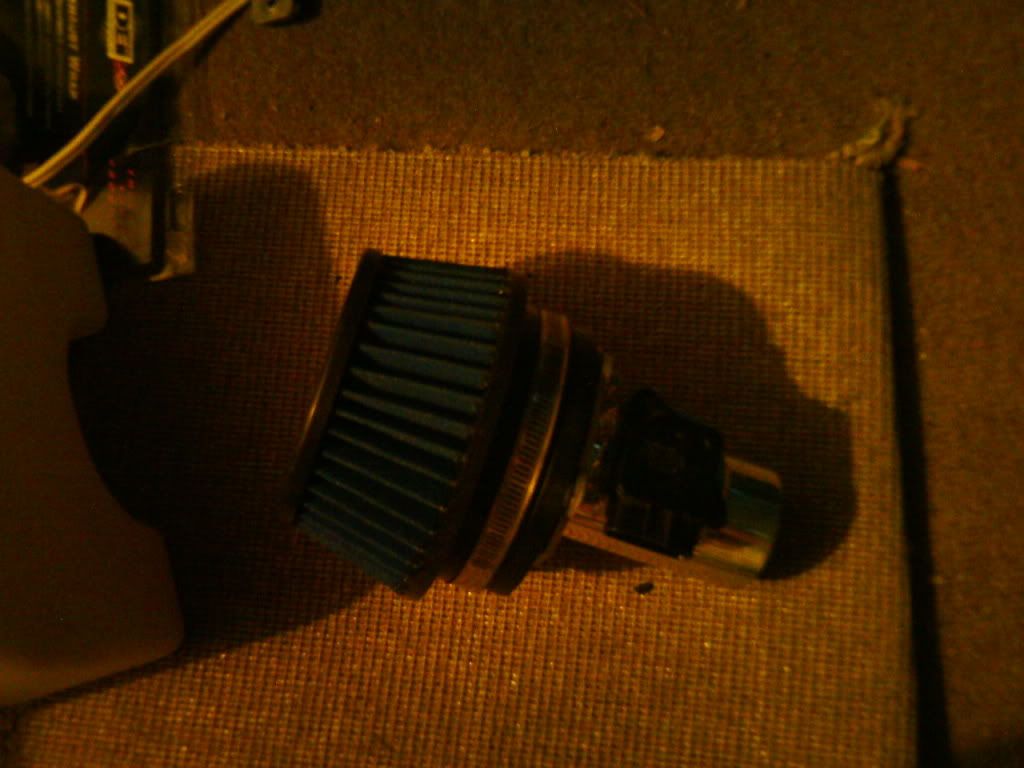  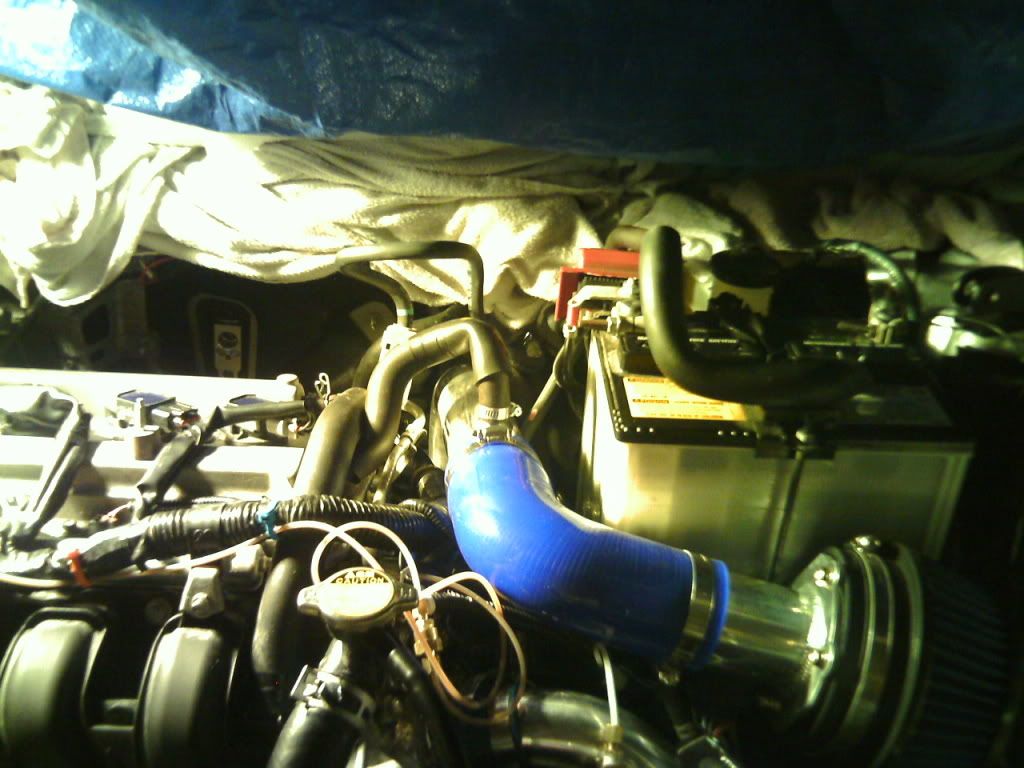 Reinstalled AC lines so they're not just floating around. Also, here's a picture of my sweet zip tie hanger for the O2 sensor wires. 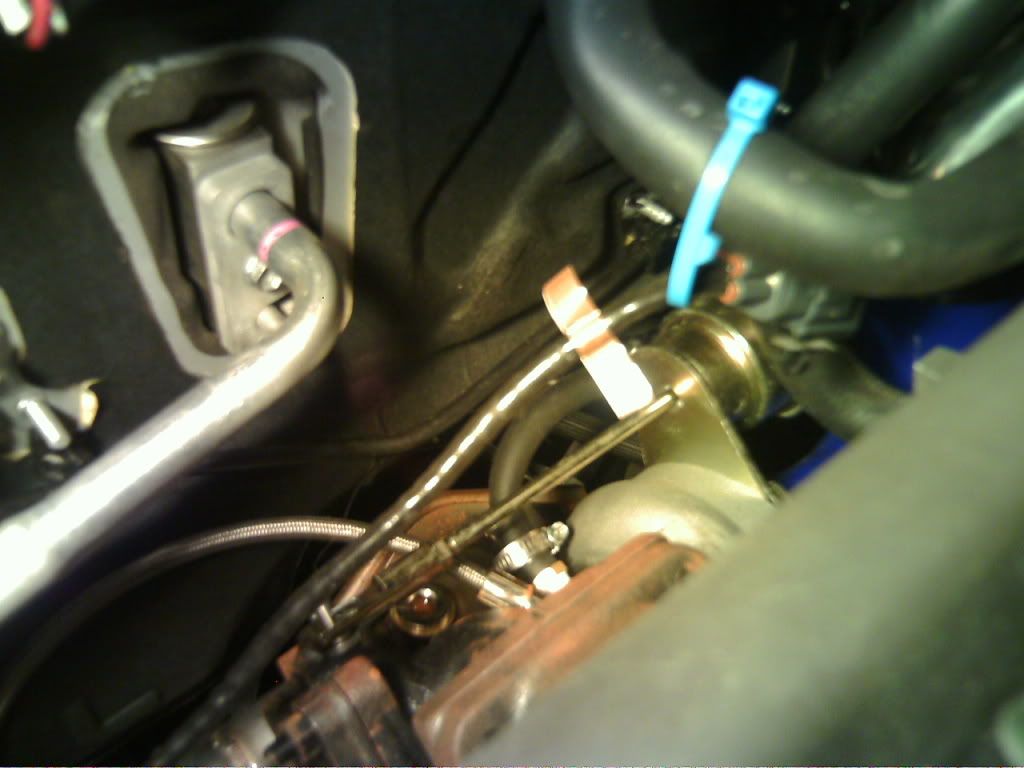 Finished the day off by pulling the spark plugs and EFI fuse. 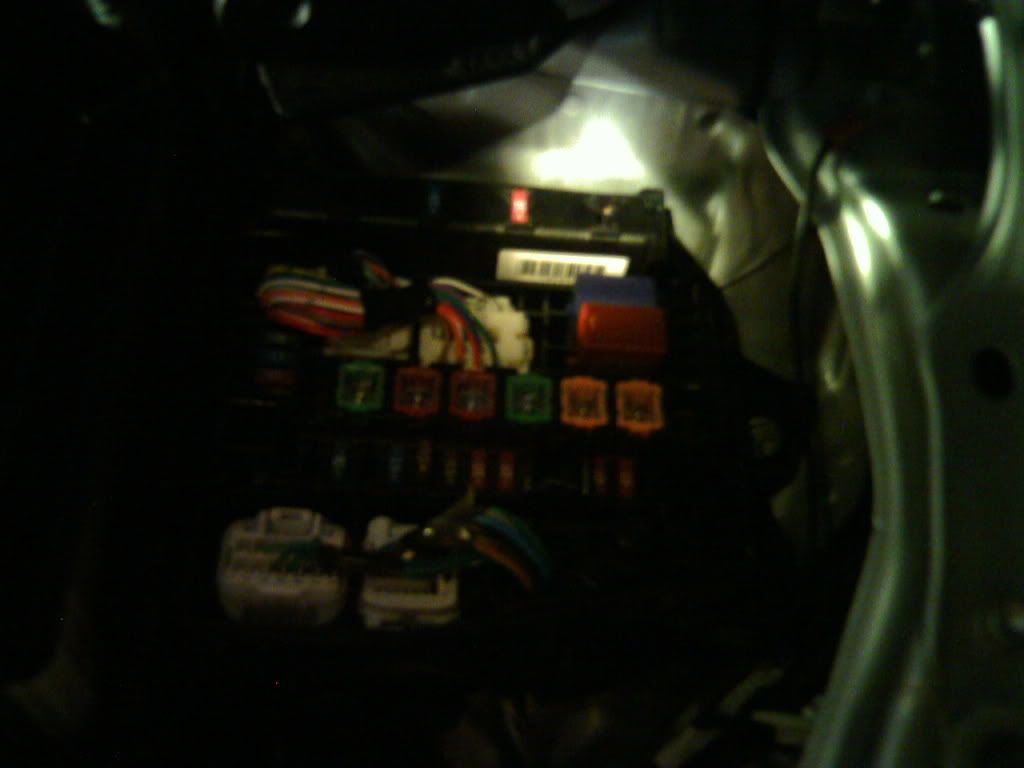 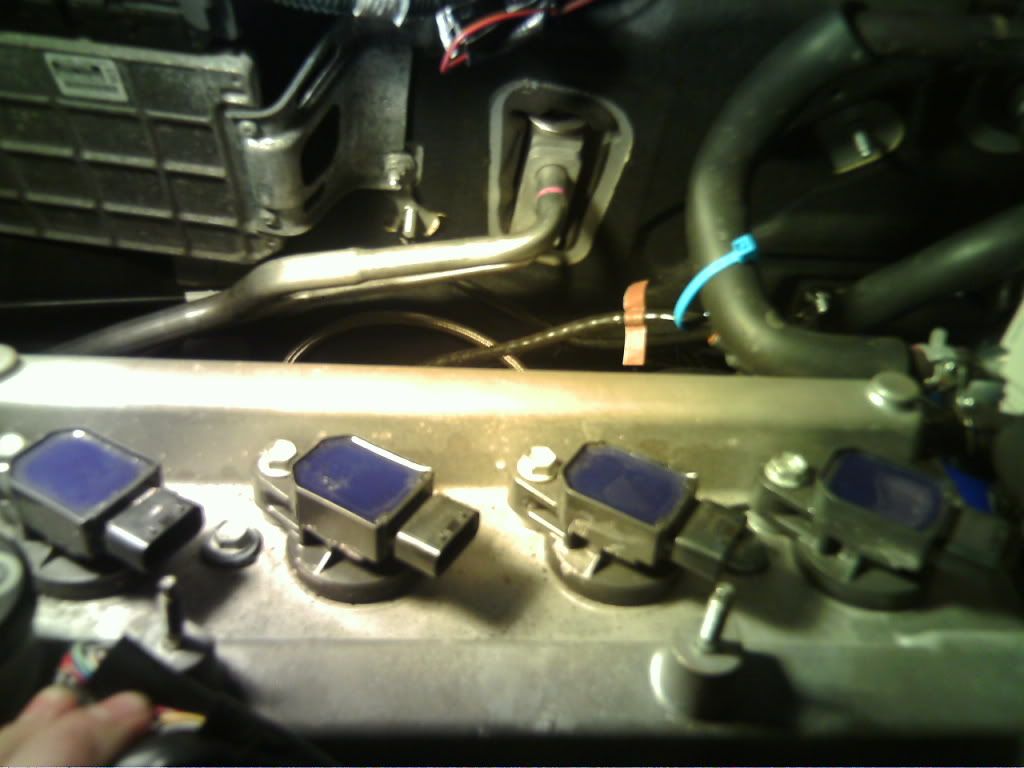 So weather permitting, tuning day will either be tomorrow or Wednesday. Assuming there's no leaks when I re-add the oil, I'll crank the starter and look for oil leaks in pressurized areas. Then I'll pull the oil return real quick to make sure oil is present. Finally I'll start the engine and look for any and all air leaks (plan to get a video of that moment ).
|
|
|
|
|
08-23-2010, 10:28 PM
|
#126 |
|
Bathroom + Laptop = <3
Drives: Audi Join Date: Aug 2006
Location: Dorchester
Posts: 1,009
|
methinks you might end up melting that O2 sensor cable if its not wrapped in something. Other than that, good post! can't wait to see more.
|
|
|
|
 |
|
|
 Similar Threads
|
||||
| Thread | Thread Starter | Forum | Replies | Last Post |
| FS: Autometer Cobalt 6170 Boost Gauge | Nexus1155 | Items for Sale by private party | 2 | 02-02-2011 04:08 PM |
| Multiple cylinder misfire under boost | LtNoogie | Forced Induction Forum | 13 | 11-02-2009 04:44 AM |
| Fill up with Super before starting your boost project | LtNoogie | Forced Induction Forum | 5 | 12-01-2008 06:41 PM |
| Supercharger Selection and Limiting Boost | Nexus1155 | Forced Induction Forum | 1 | 12-01-2008 03:51 PM |
| WTB: Boost Gauges | Teruyume | Items for Sale by private party | 4 | 11-12-2006 02:42 PM |


 Linear Mode

